2018 marks 20 years of marriage to my best friend. We knew we needed to do something big.
Columbus, Ohio can be dismal in February so we wanted to head somewhere warm and sunny. With the recent devastation that occurred in the Florida Keys and the Caribbean, we decided that might not be the best idea. Travel to Mexico is getting dicier by the minute so we passed on that destination as well. When Hawaii came up, we thought, hey, that’s perfect! Great weather, lots of adventure, and we don’t have to get the passports out.
After doing some research, we decided to visit Maui. It boasts a great balance of natural wonder with some small towns and touristy options thrown in. It did not disappoint!
The two most important questions for every trip are:
1. Which camera(s) do I bring?
2. What bag do I carry it in?
MindShift Gear Photocross Sling bag, Fujifilm X-T2, Fujifilm X100F, Benro PP1 mini tripod
Fujifilm X Cameras
I decided to pack both my Fujifilm X-T2 and Fujifilm X-100F. The first one so I could have some lens options, the second to hang around my neck if we were heading somewhere I didn’t want to lug a camera bag around with me. A few years ago I switched from Canon to Fujifilm. I NEVER took my Canon DSLR with me on vacation. It's big, clunky, and shouts, “I'm a tourist, rob me! I have expensive gear in this bag.” Most people see my little Fujifilm mirrorless cameras and think they’re “cute vintage film cameras” and who wants to steal those?
Fujifilm 35mm F2 WR, 50mm F2 WR, 14mm F2.8
Lenses
I did plenty of research on which lenses to bring. Everything I read said to bring a wide angle lens. I'm glad I did because I think well over half of my shots are with the 14mm F2.8. Between that and the 23mm lens on the X100F I could have pretty much left everything else home. I also brought my 35mm F2 WR and 50mm F2 WR. With those four options I had everything I needed. If you are a bird-watcher or want to get closeups while whale-watching, I might suggest a telephoto lens but I didn’t miss having anything beyond the 50mm at any time on the trip.
In search of the perfect bag
I know, I know, the perfect bag does not exist. But once again, I was on a mission to find it. In this situation I was looking for a bag that would achieve 4 main goals:
Weather proof
Designed for mirrorless camera and lenses
Comfortable for hiking
Holds a water bottle
Hawaii is tropical (in case you didn’t know) and tends to get passing rain showers as we experienced a few times during our week. This is especially true during the winter months. I wanted something small, easy to access and comfortable to carry. After checking out several bags at Midwest Photo (My favorite shop! Love you guys!), I landed on the MindShift Gear Photocross Sling bag. It was as close to perfect as it gets. It fit both cameras, lenses, car keys, wallet, batteries, SD cards, water bottle and misc accessories like lens clothes, rain jacket, etc. It also worked well with my Peak Design Capture Clip on the shoulder strap, so I was able to leave camera straps at home and hike in comfort without having to stow my camera in the bag the whole time. I don't typically like sling bags as they begin to feel heavy over my shoulder but this one has very wide shoulder padding and a side stabilizer along the bottom of the strap that keeps it in place nicely. I did make one recommended modification. The bag comes with a set of adjustable straps designed to hold a tripod, or other accessories to the outside of the bag. I found them bulky and inflexible for my needs. So I went to Joann Fabrics and picked up a spool of elastic cord (think skinny bungie cord) and a one of those plastic spring pinch doohickies that allow you to tighten up the cord like a draw string bag. I wove it through the loops on the outside of the bag and it held my small Benro PP1 tripod and was perfect for stowing my jacket when I was starting to get warm. It worked out great!
The included rain cover worked perfectly and also came in handy several times. I can’t recommend this little bag enough!
The lanai at our resort got a lot of use. We ate every meal out here. It’s hard to beat that view and the sound of the waves.
Be prepared high contrast!
Hawaii is very bright and sunny most of the time which means bright skies, extreme shadows, and if you aren’t careful, the high likelihood of blowing out the highlights in every photo. My wife is very patient but not patient enough for me to set a tripod and shoot multiple exposures at every location, so I shot RAW format and exposed for the skies. Fuji’s RAW files are pretty awesome and contain a lot of detail in the shadows. If this had been an assignment shoot, I would have taken more time and bracketed my shots. Several times the neutral density filter in the X100F came in handy. This was a pleasure trip, not an assignment and I’m generally happy with the results.
Places we visited
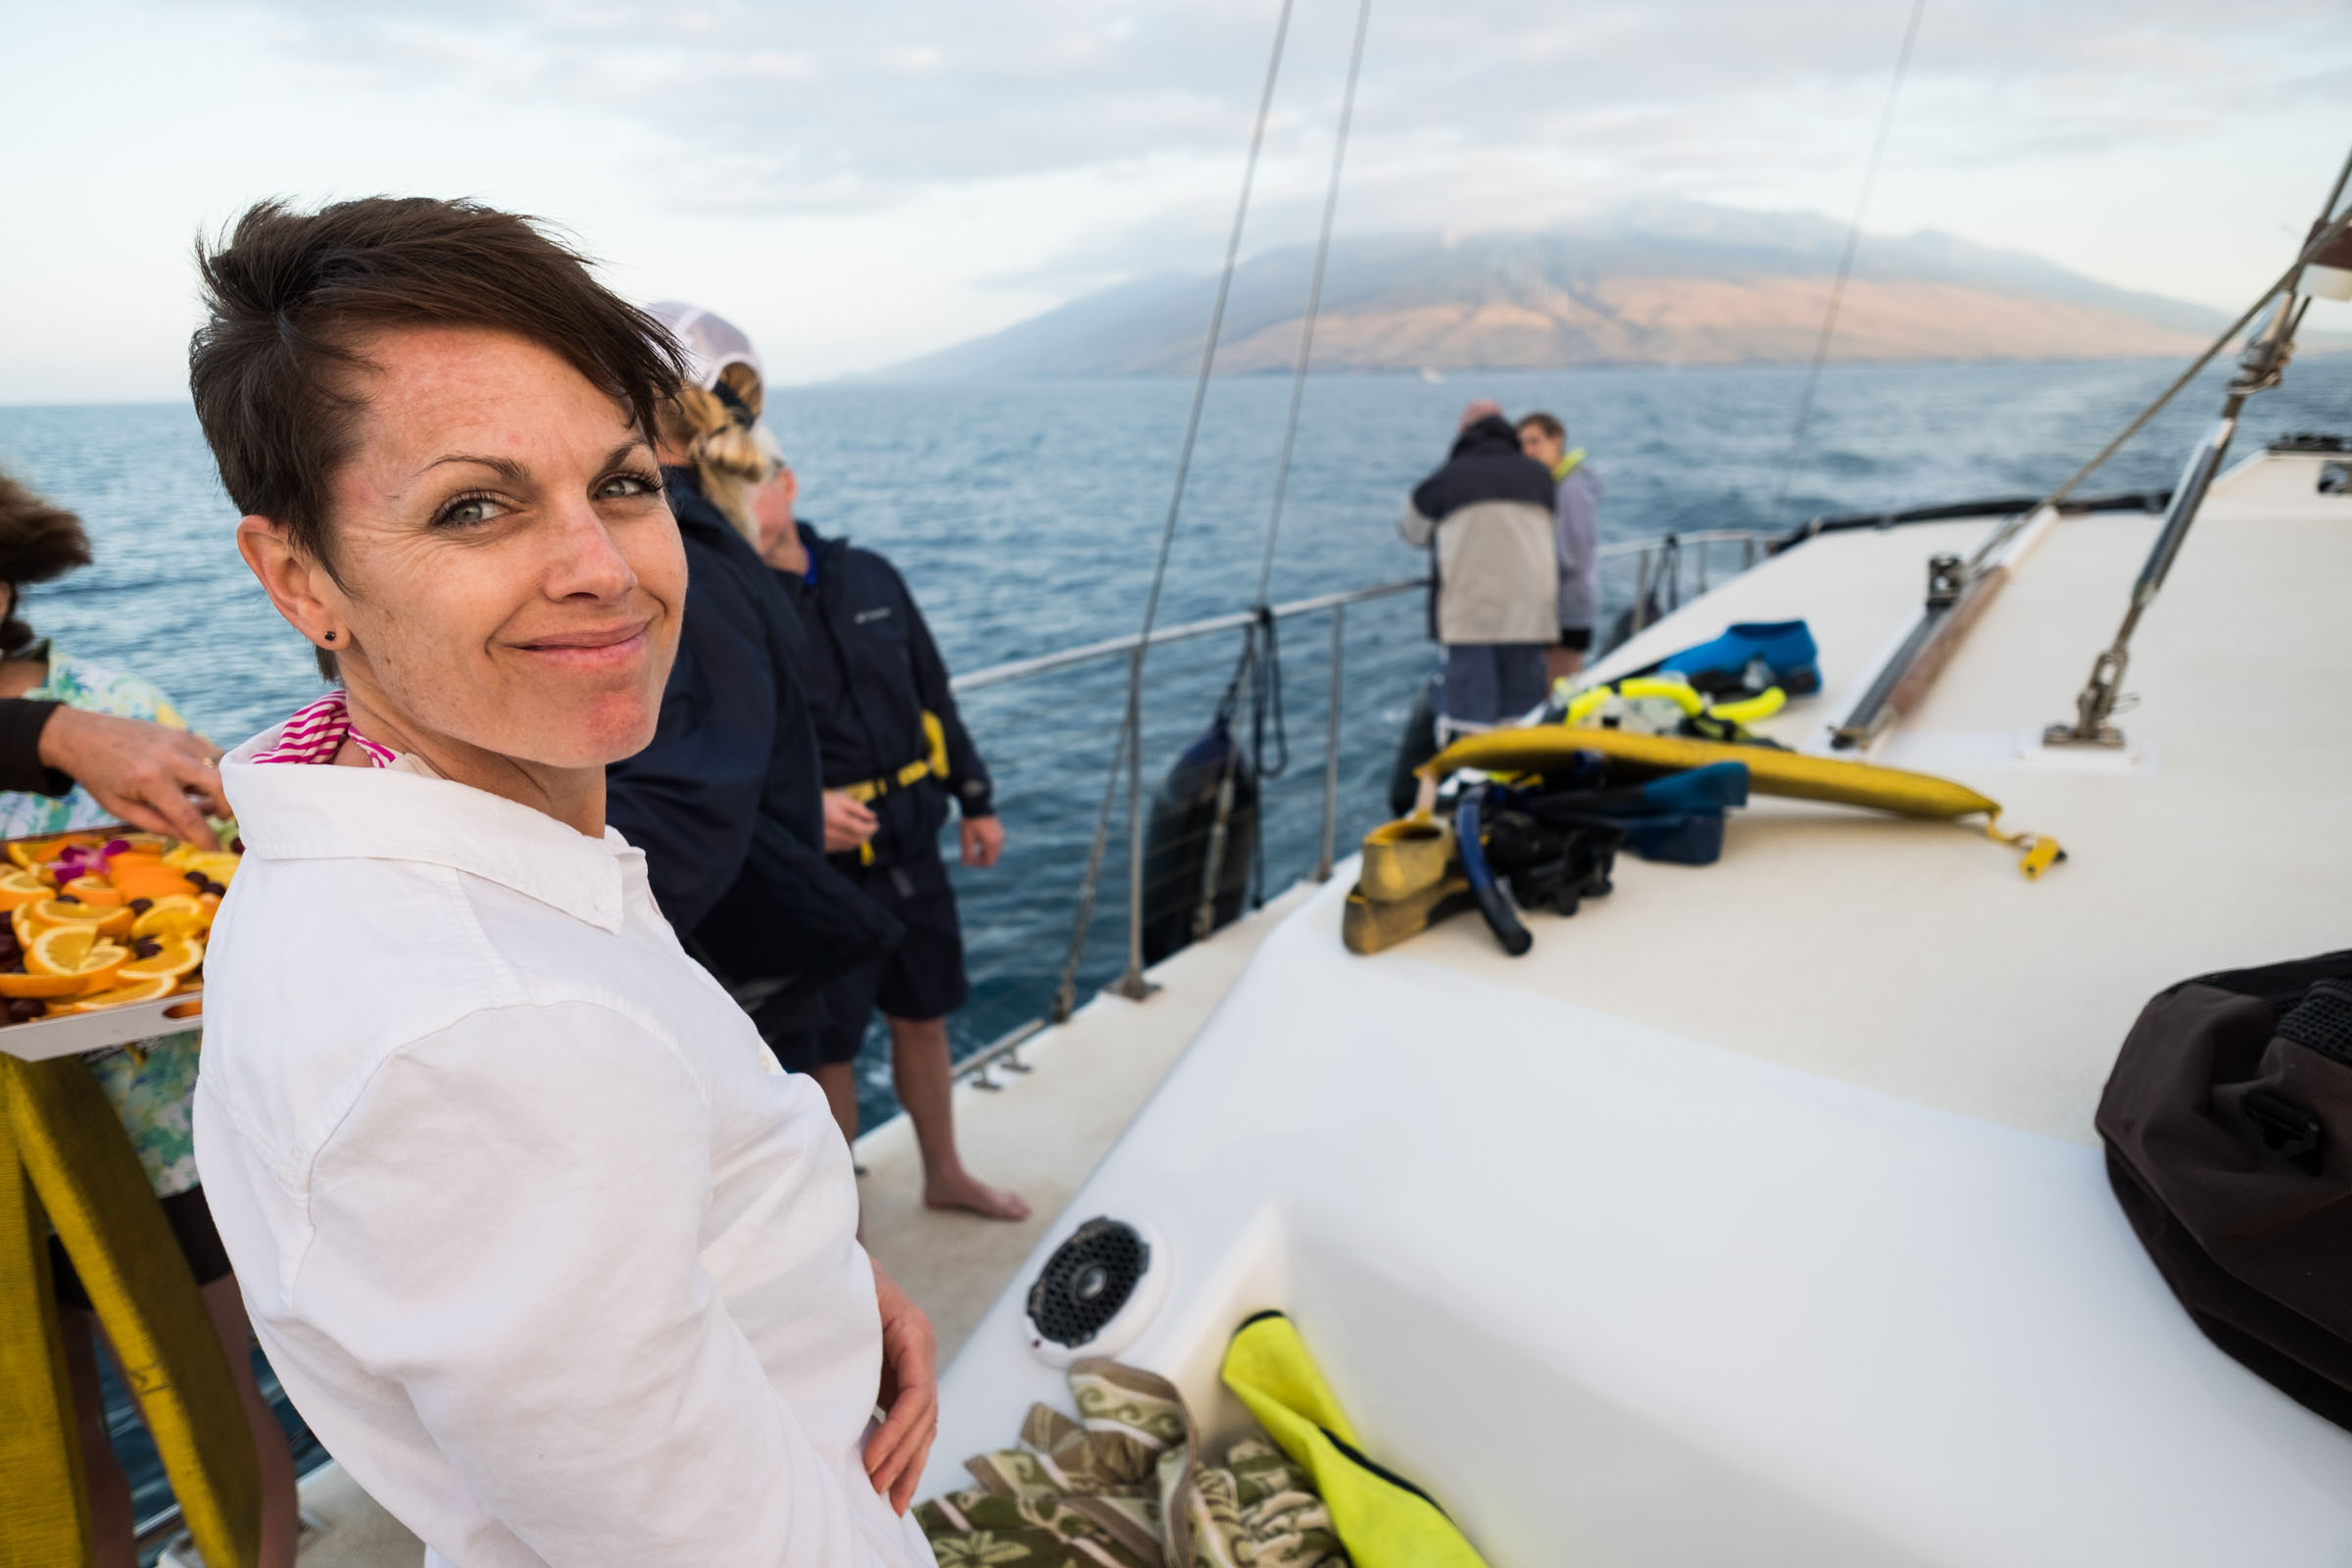
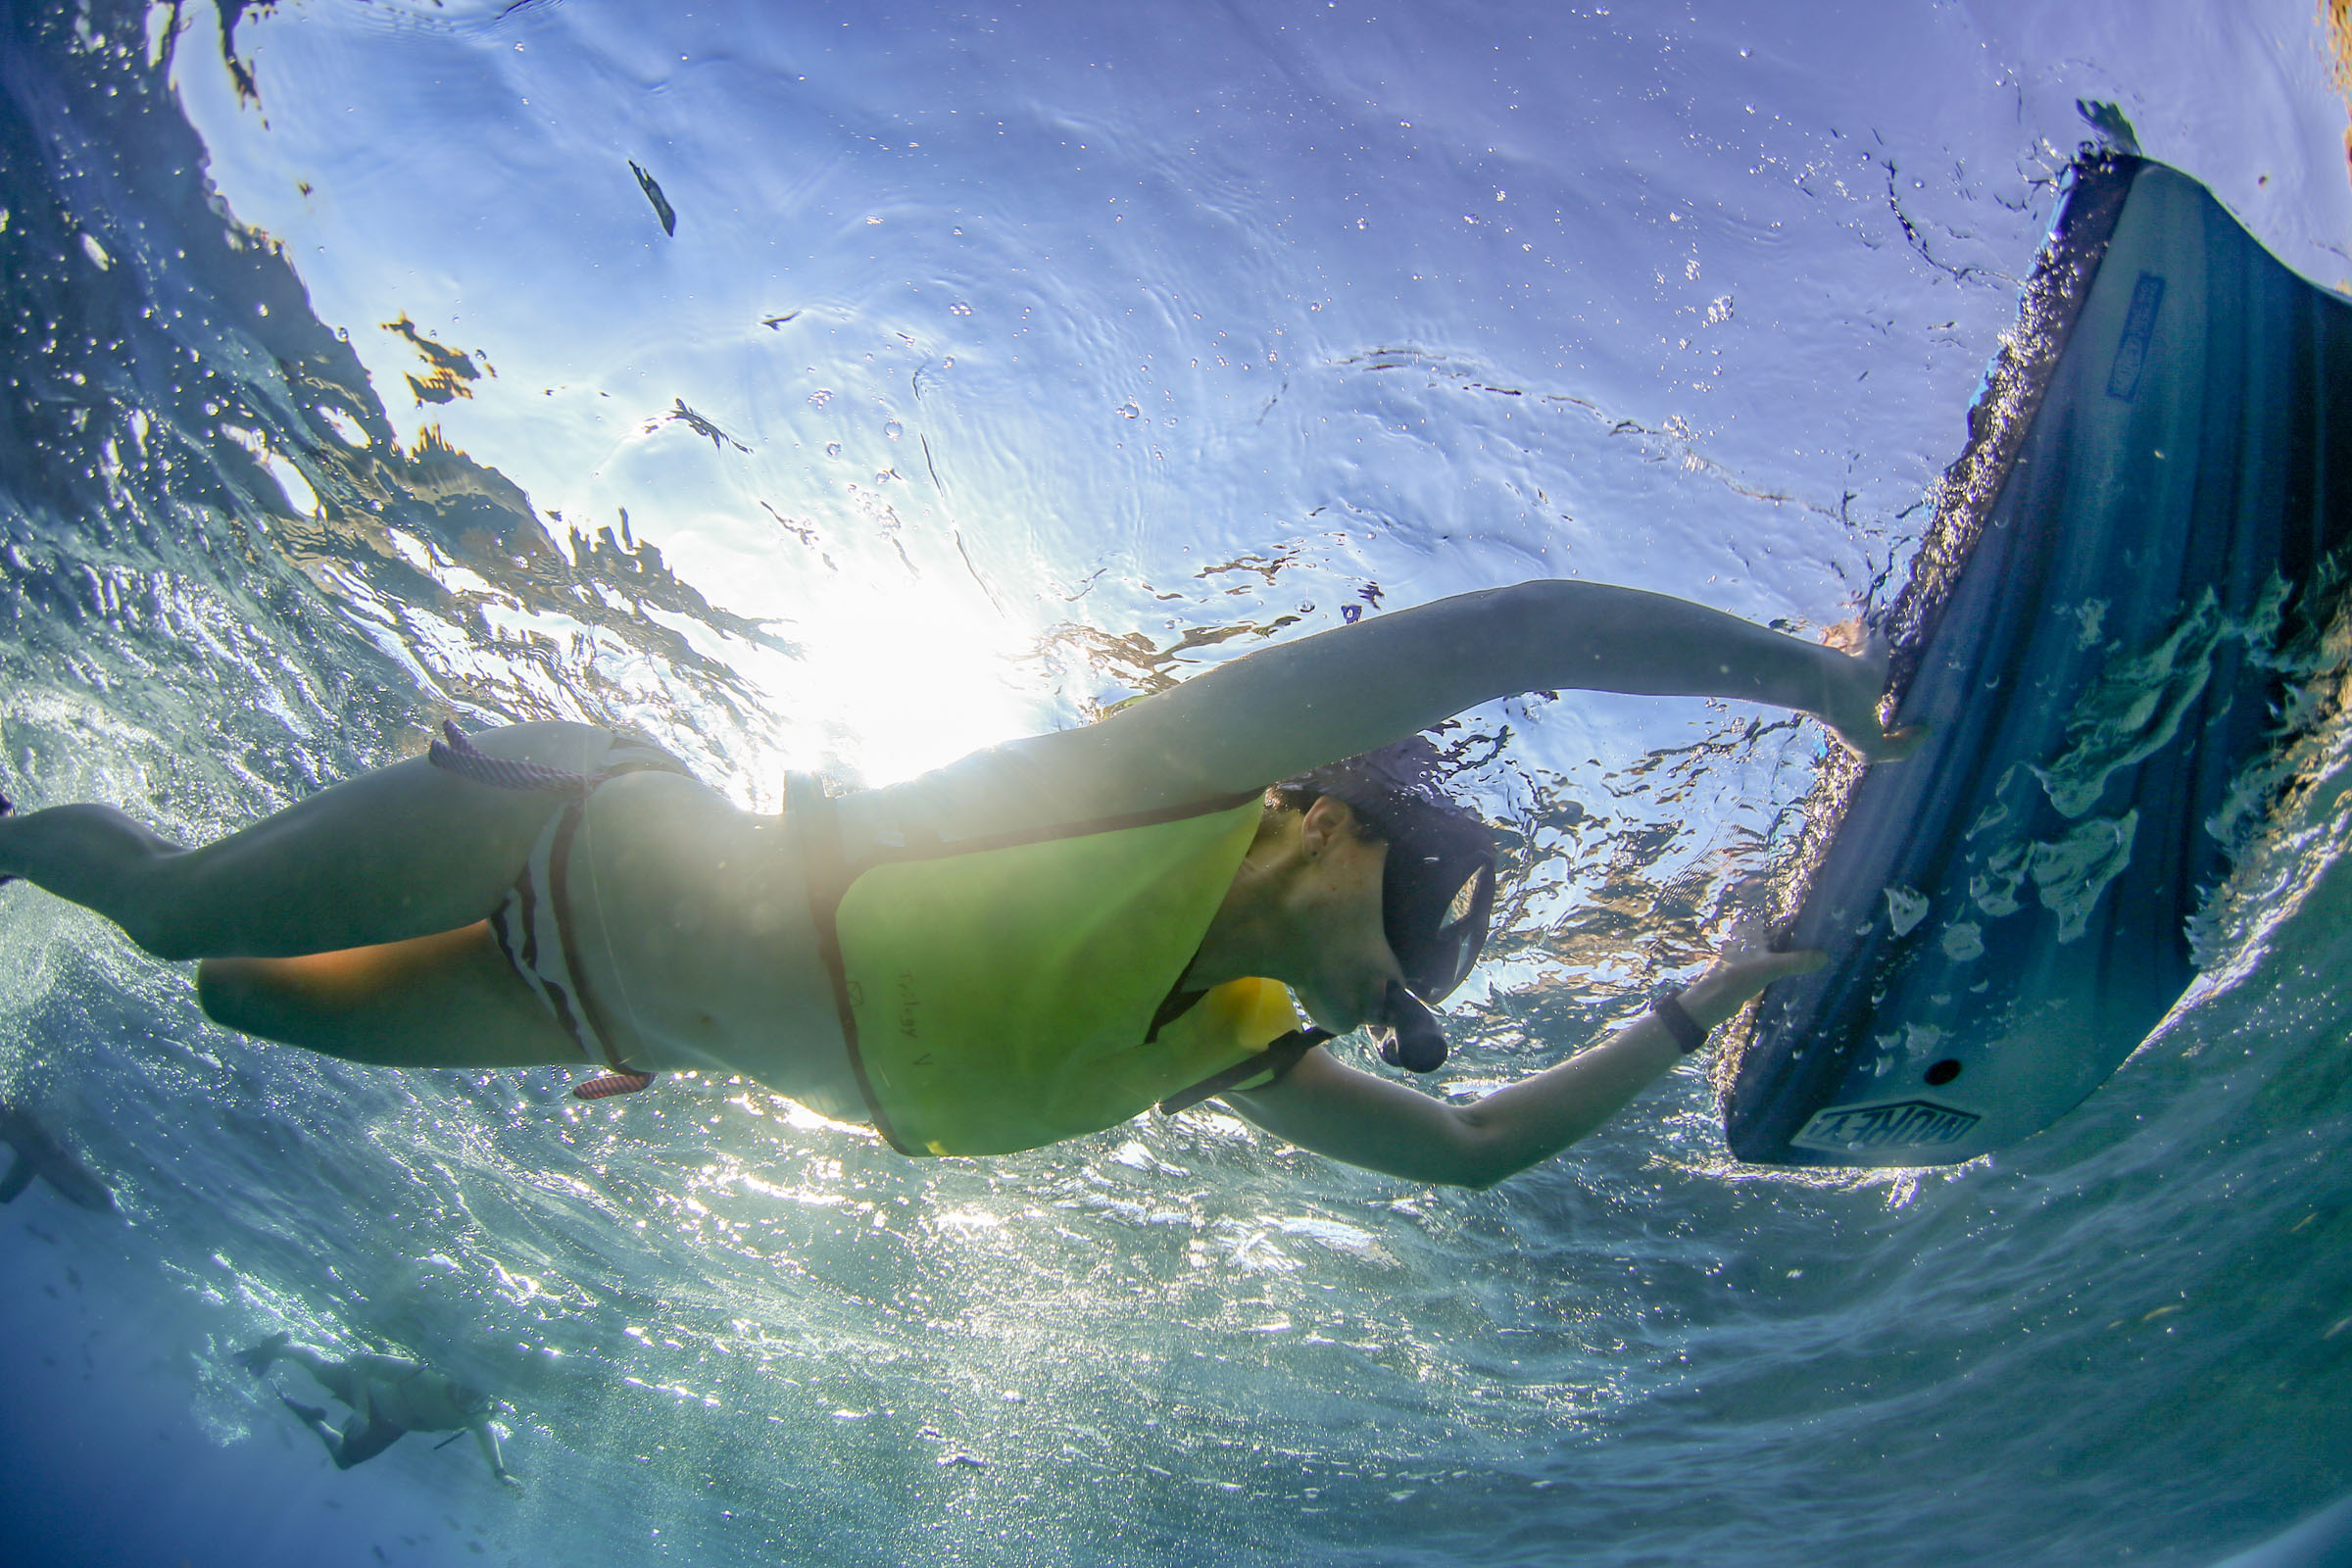
Snorkeling in Molekini Crater
A guided snorkel cruise to Molekini Crater is a worth-while visit. We chose to go on a smaller boat and went with Trilogy . The water was unusually rough that day so the water was quite stirred up and not easily snorkeled, but we had a great time anyways. Note: The underwater photos were taken by our onboard photographer.
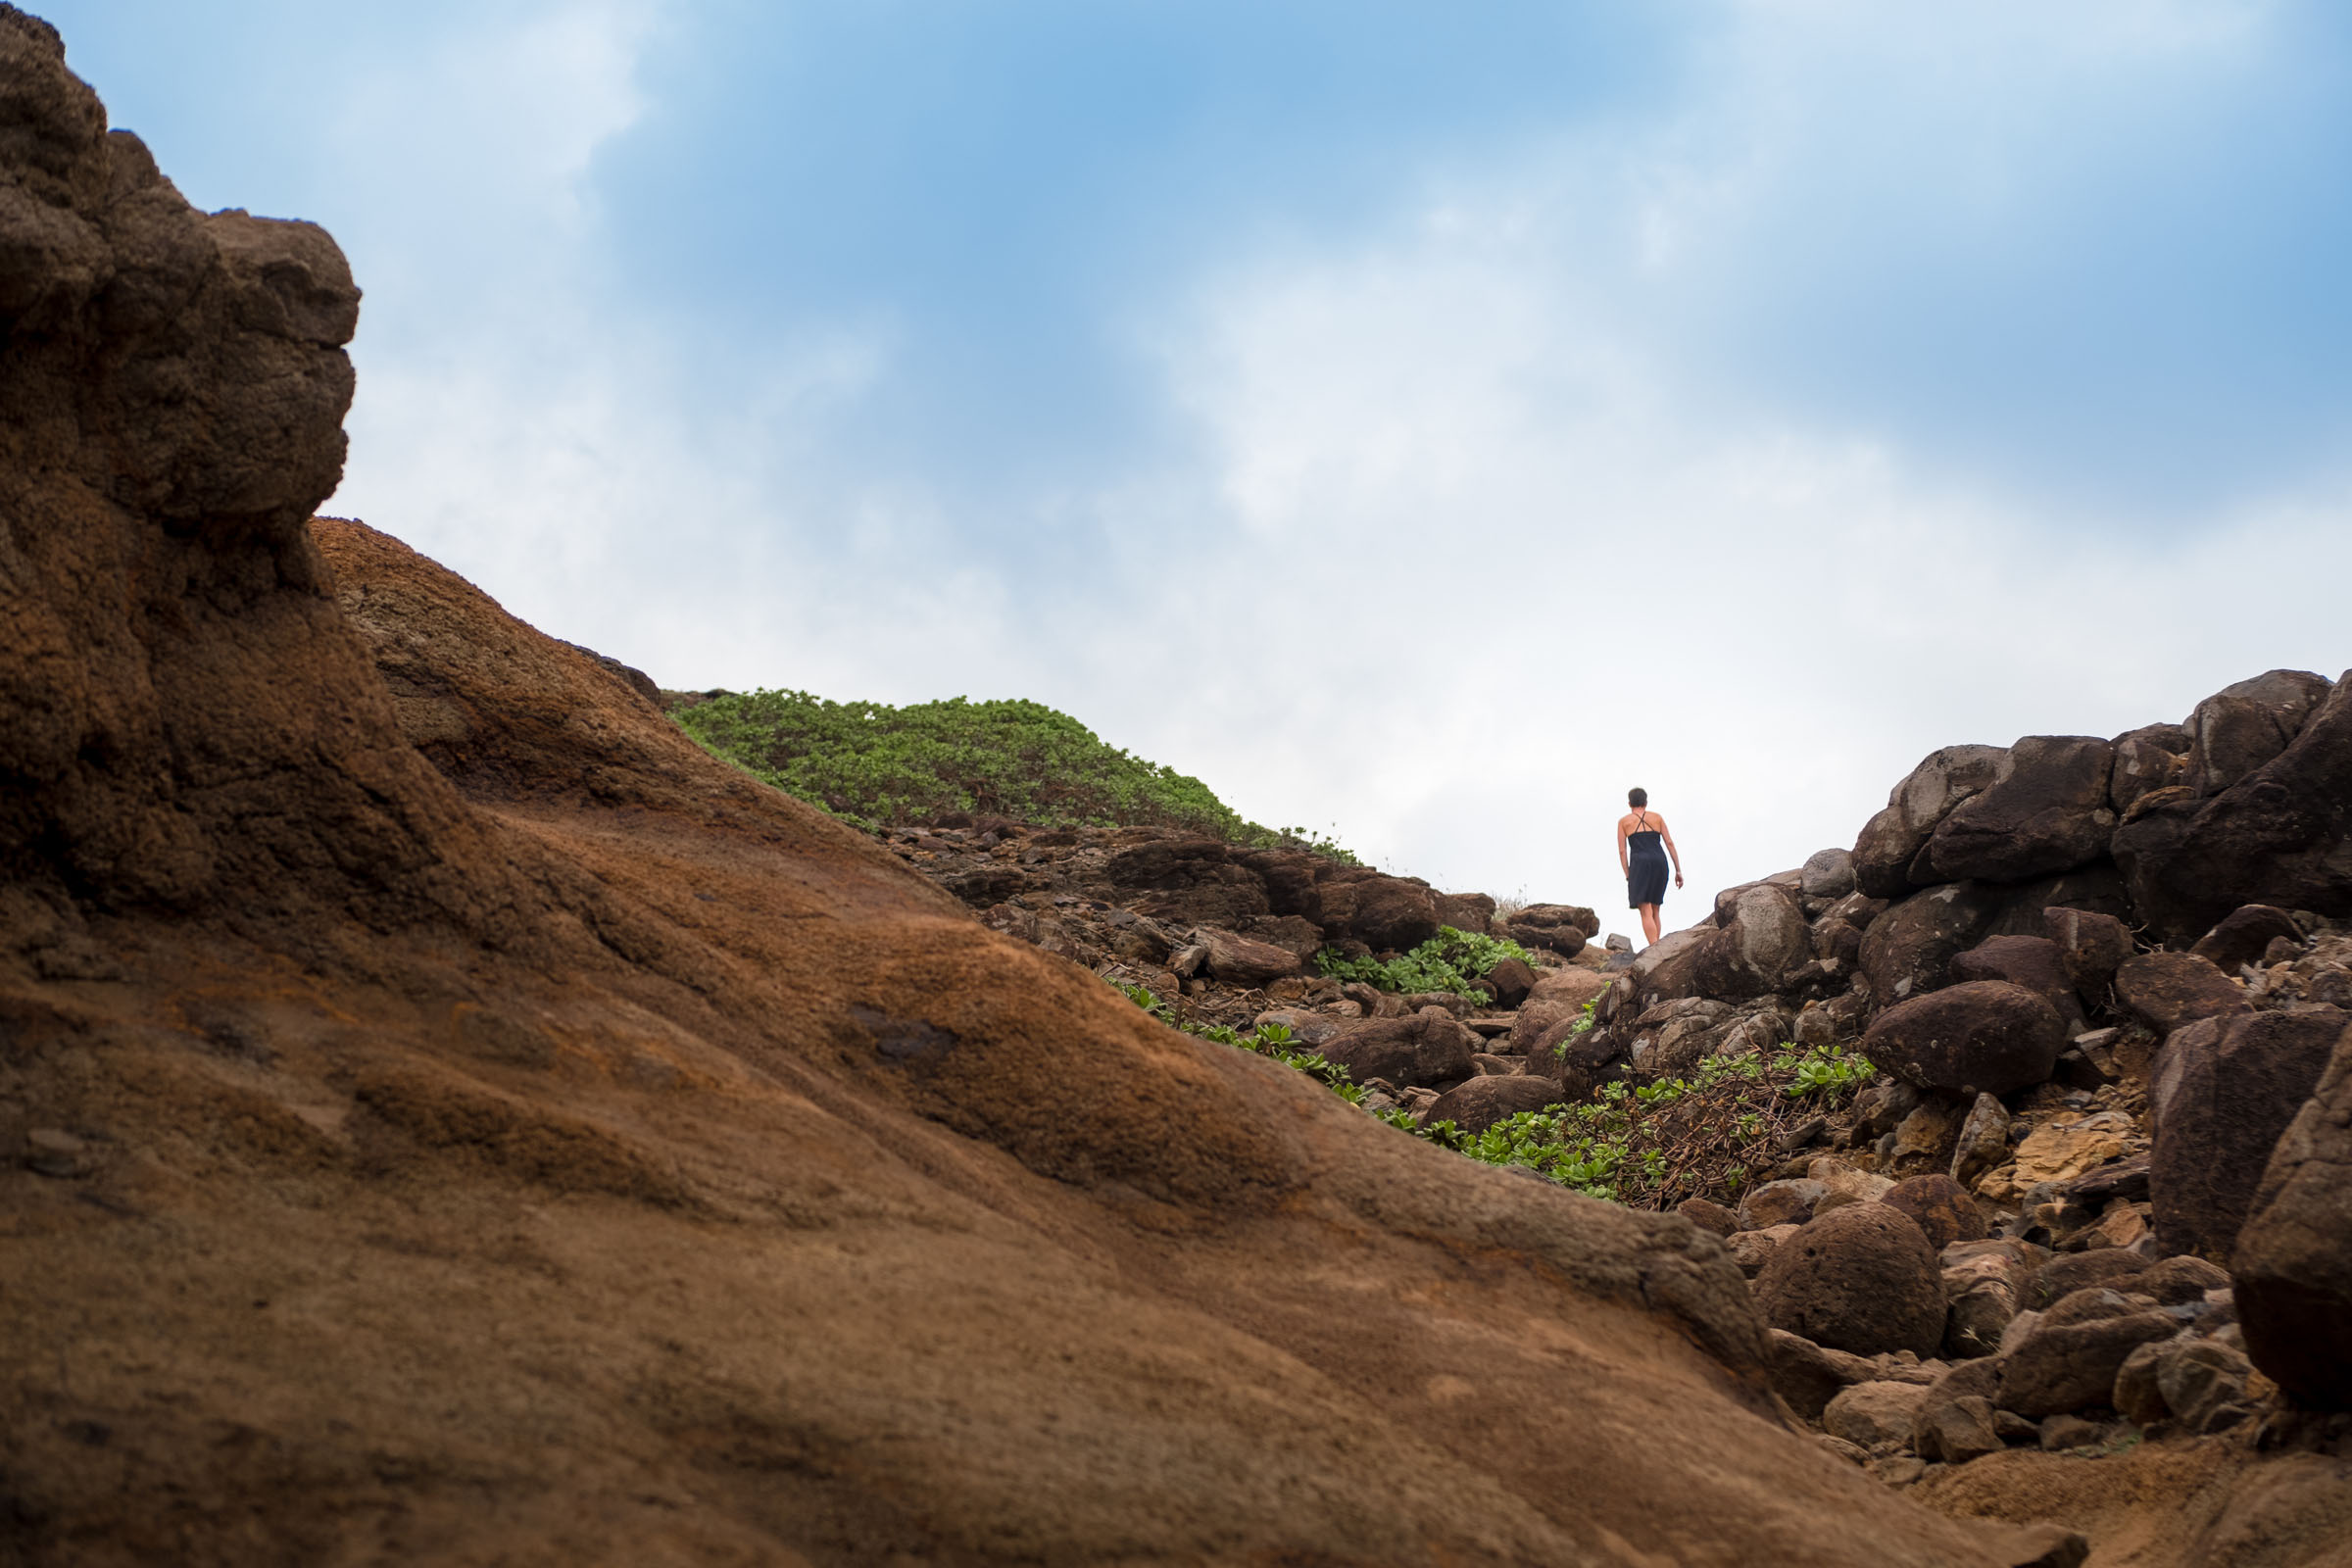
Nakalele Blowhole
Ignore the hand-painted “warning” sign and hike down to see it up close. It's work the hike.
Haleakala Crater
At 10,000 feet above sea level, you're literally above the clouds. This is a great activity when it’s overcast at sea-level. The drive to the top is well worth the trip and the views are amazing! There are sunrise bicycle tours offered but from those we talked with, it's not worth getting up that early and there is a lot of waiting around. We chose to drive up and see the sunset instead. Be sure to pack a jacket. It was 32 degrees up there!
Whale-watching
The locals call Maui’s winter waters “whale soup.” They are EVERYWHERE. You can see them from the beach but you’re missing an opportunity if you don't take a whale watching excursion. It was a great experience. We got up close and personal with several whales — two swam directly under the boat!
Beaches and coastline
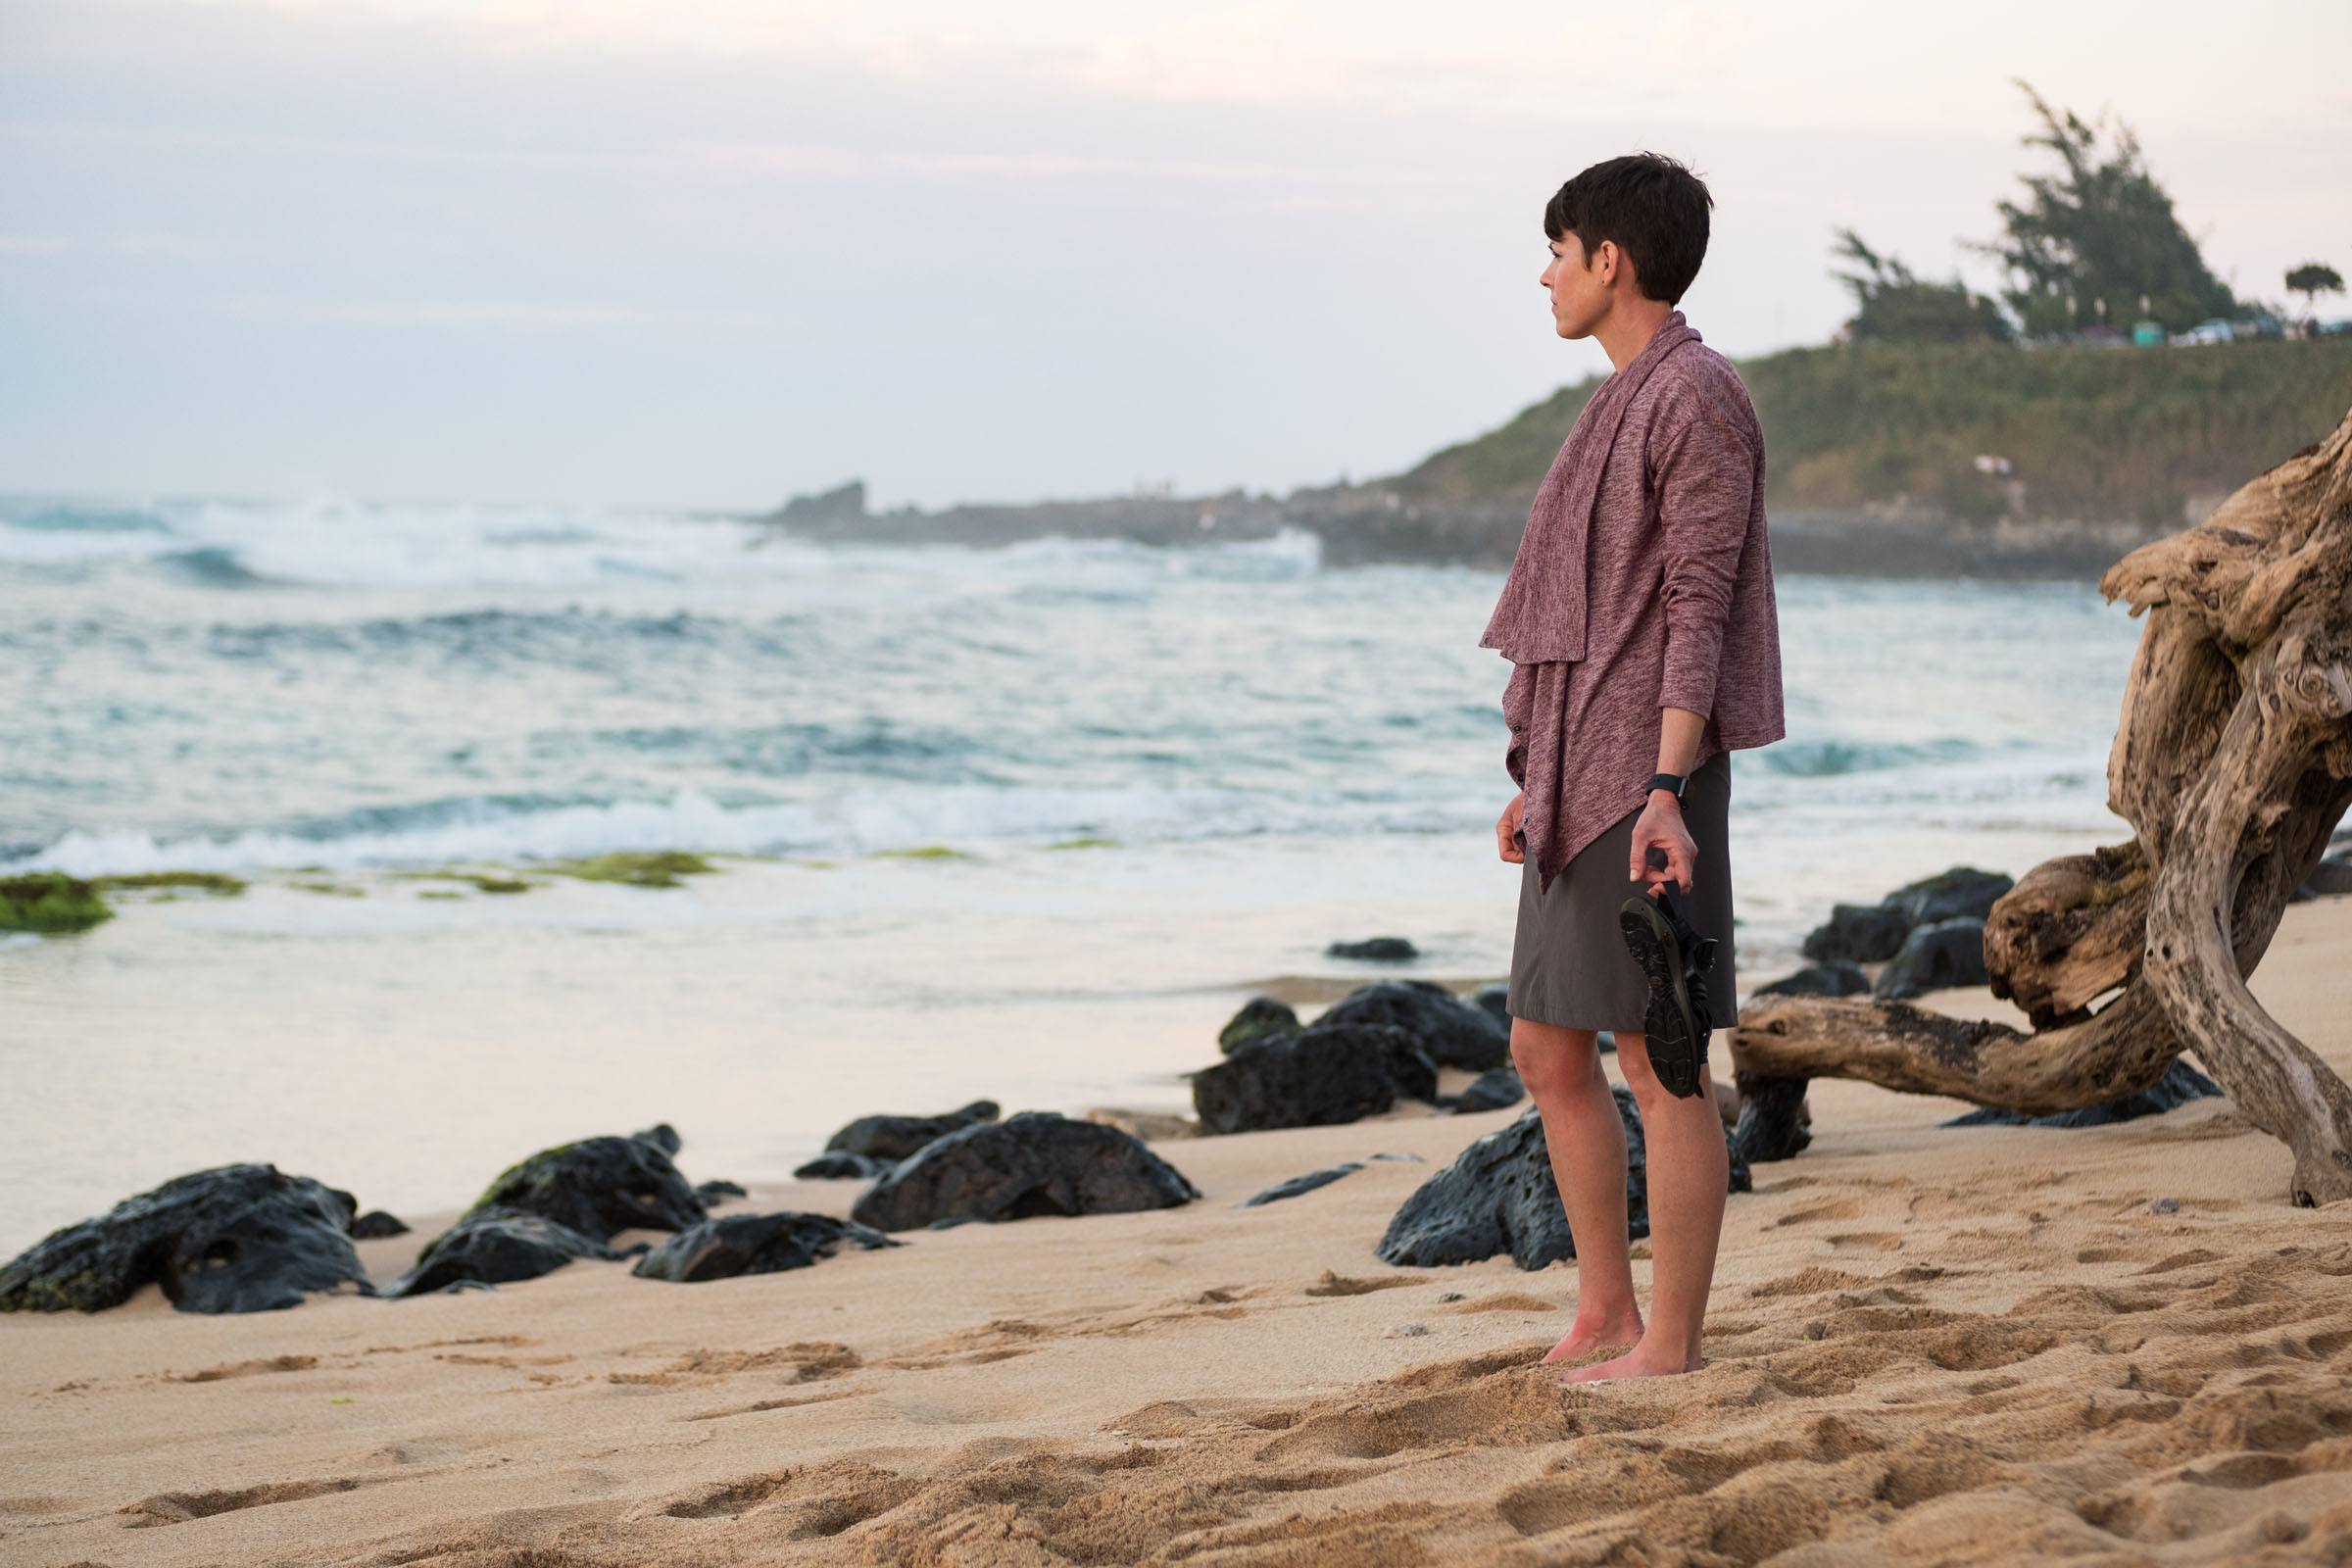
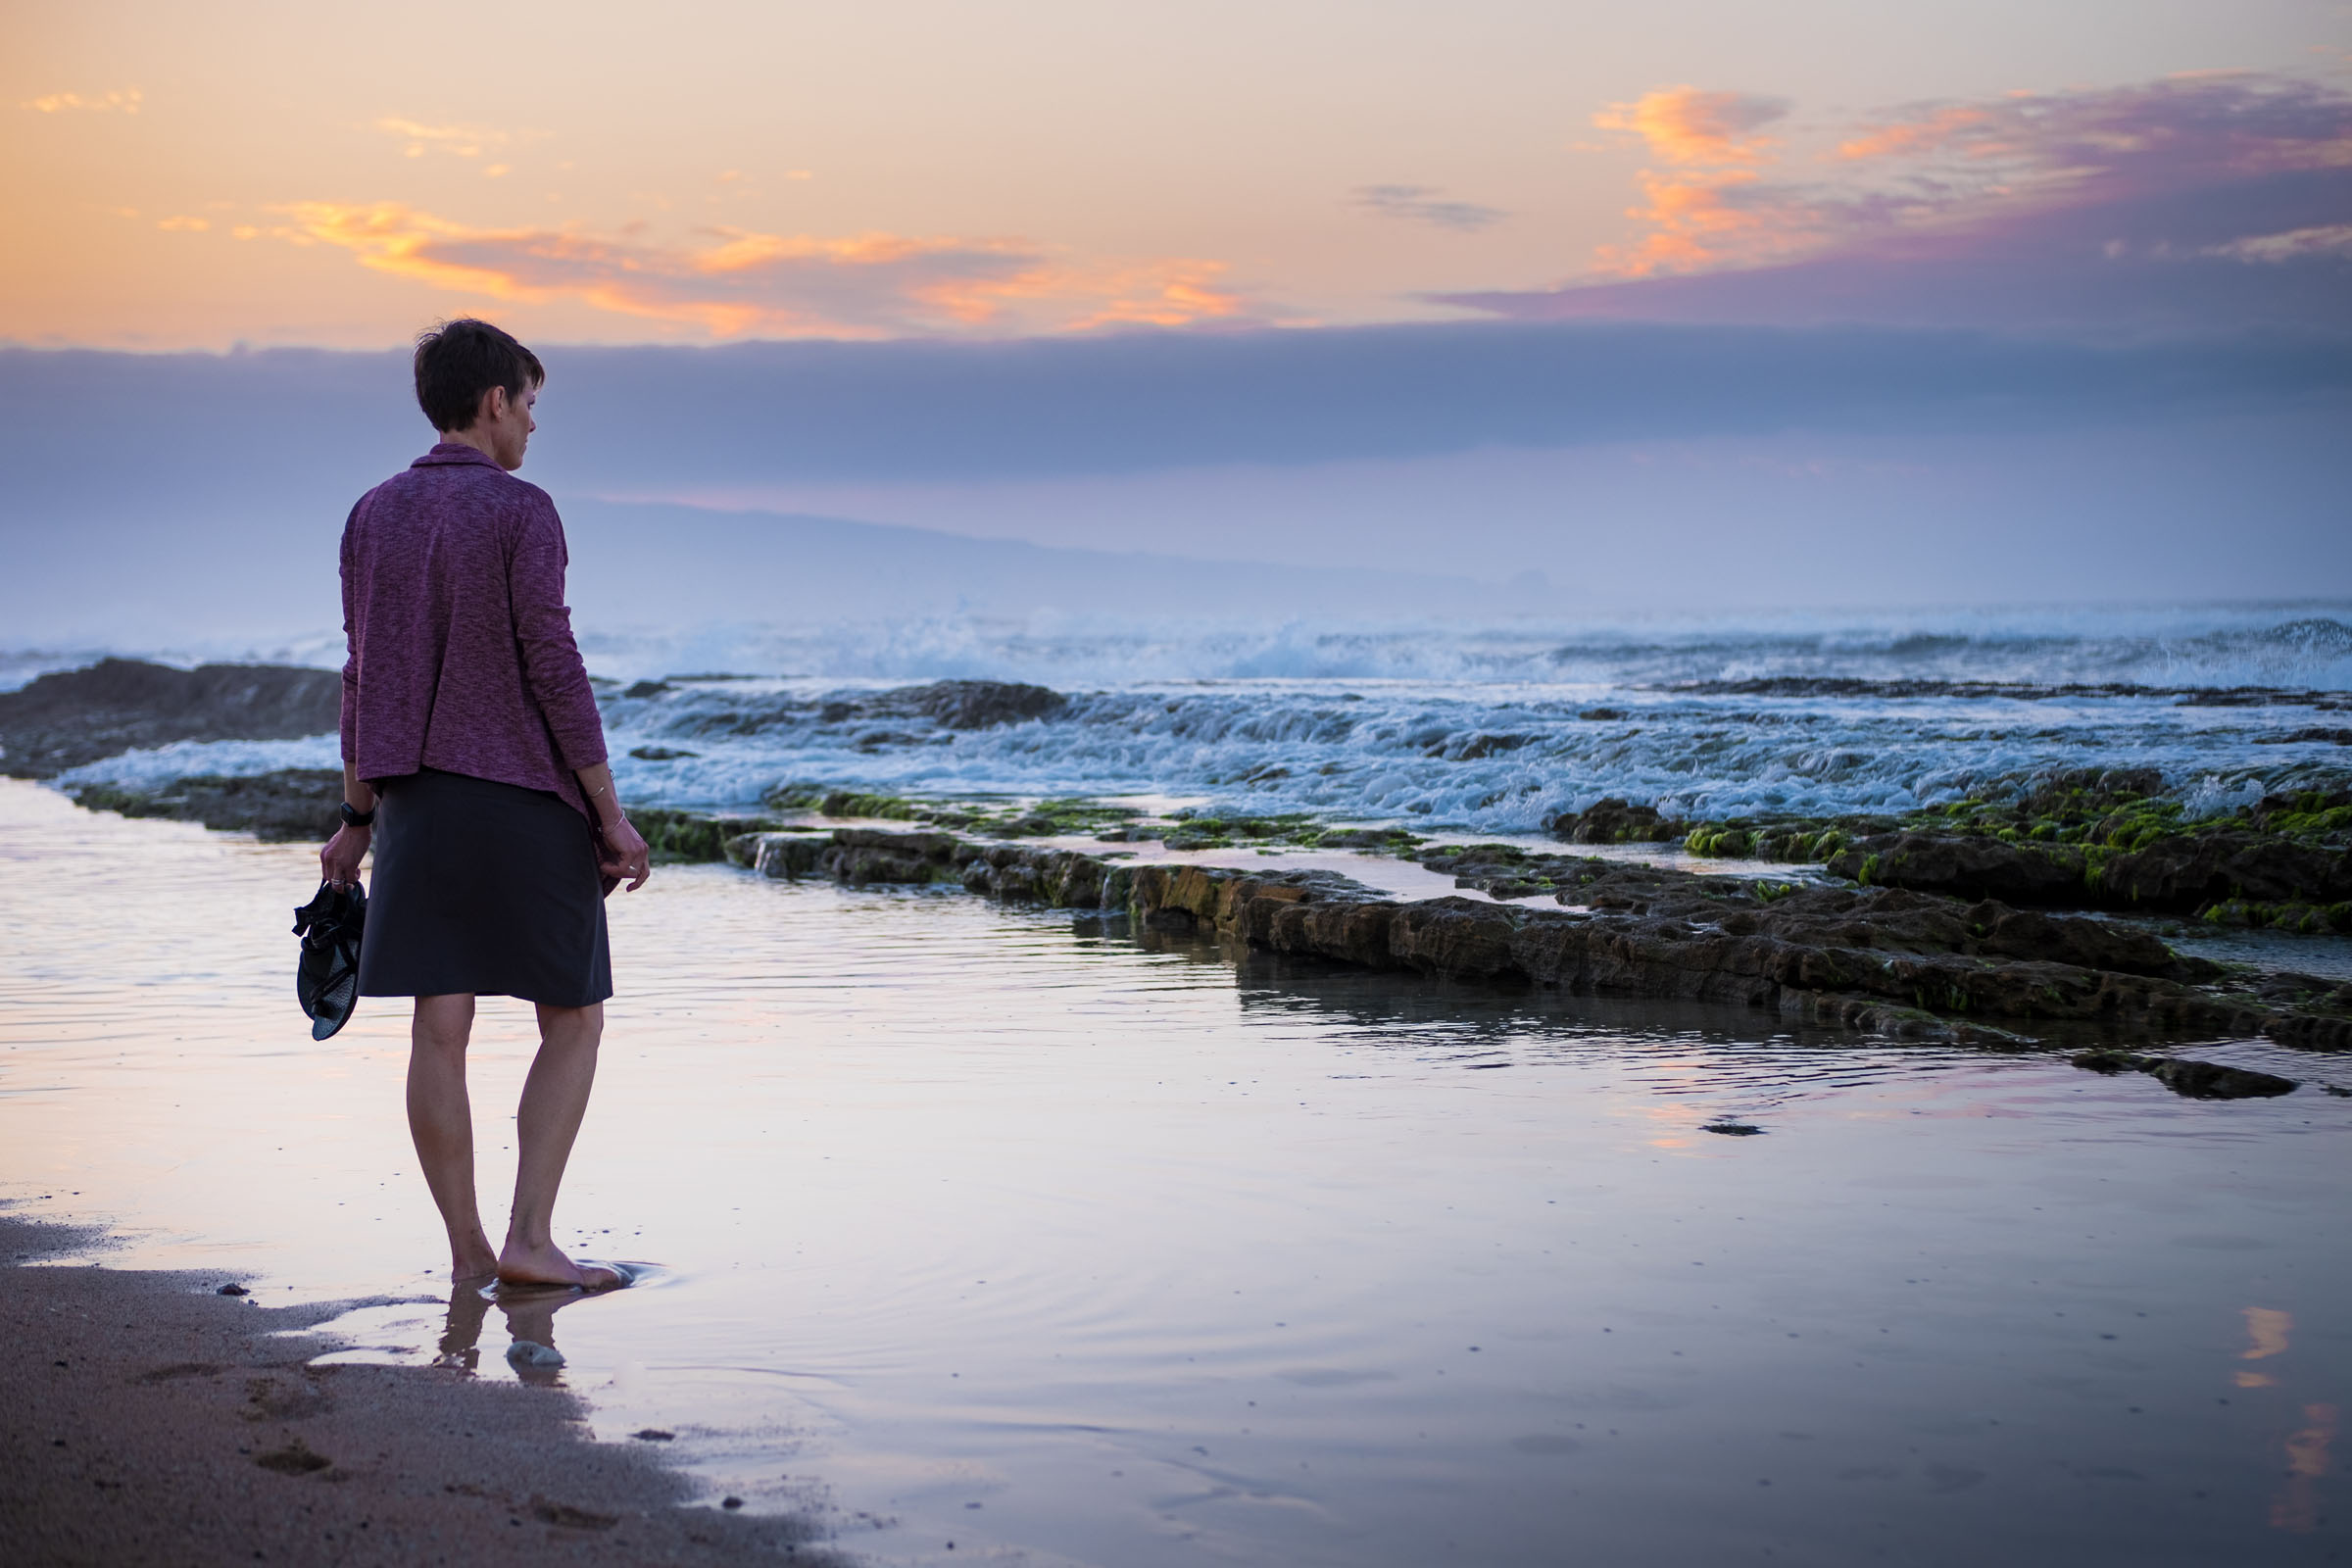
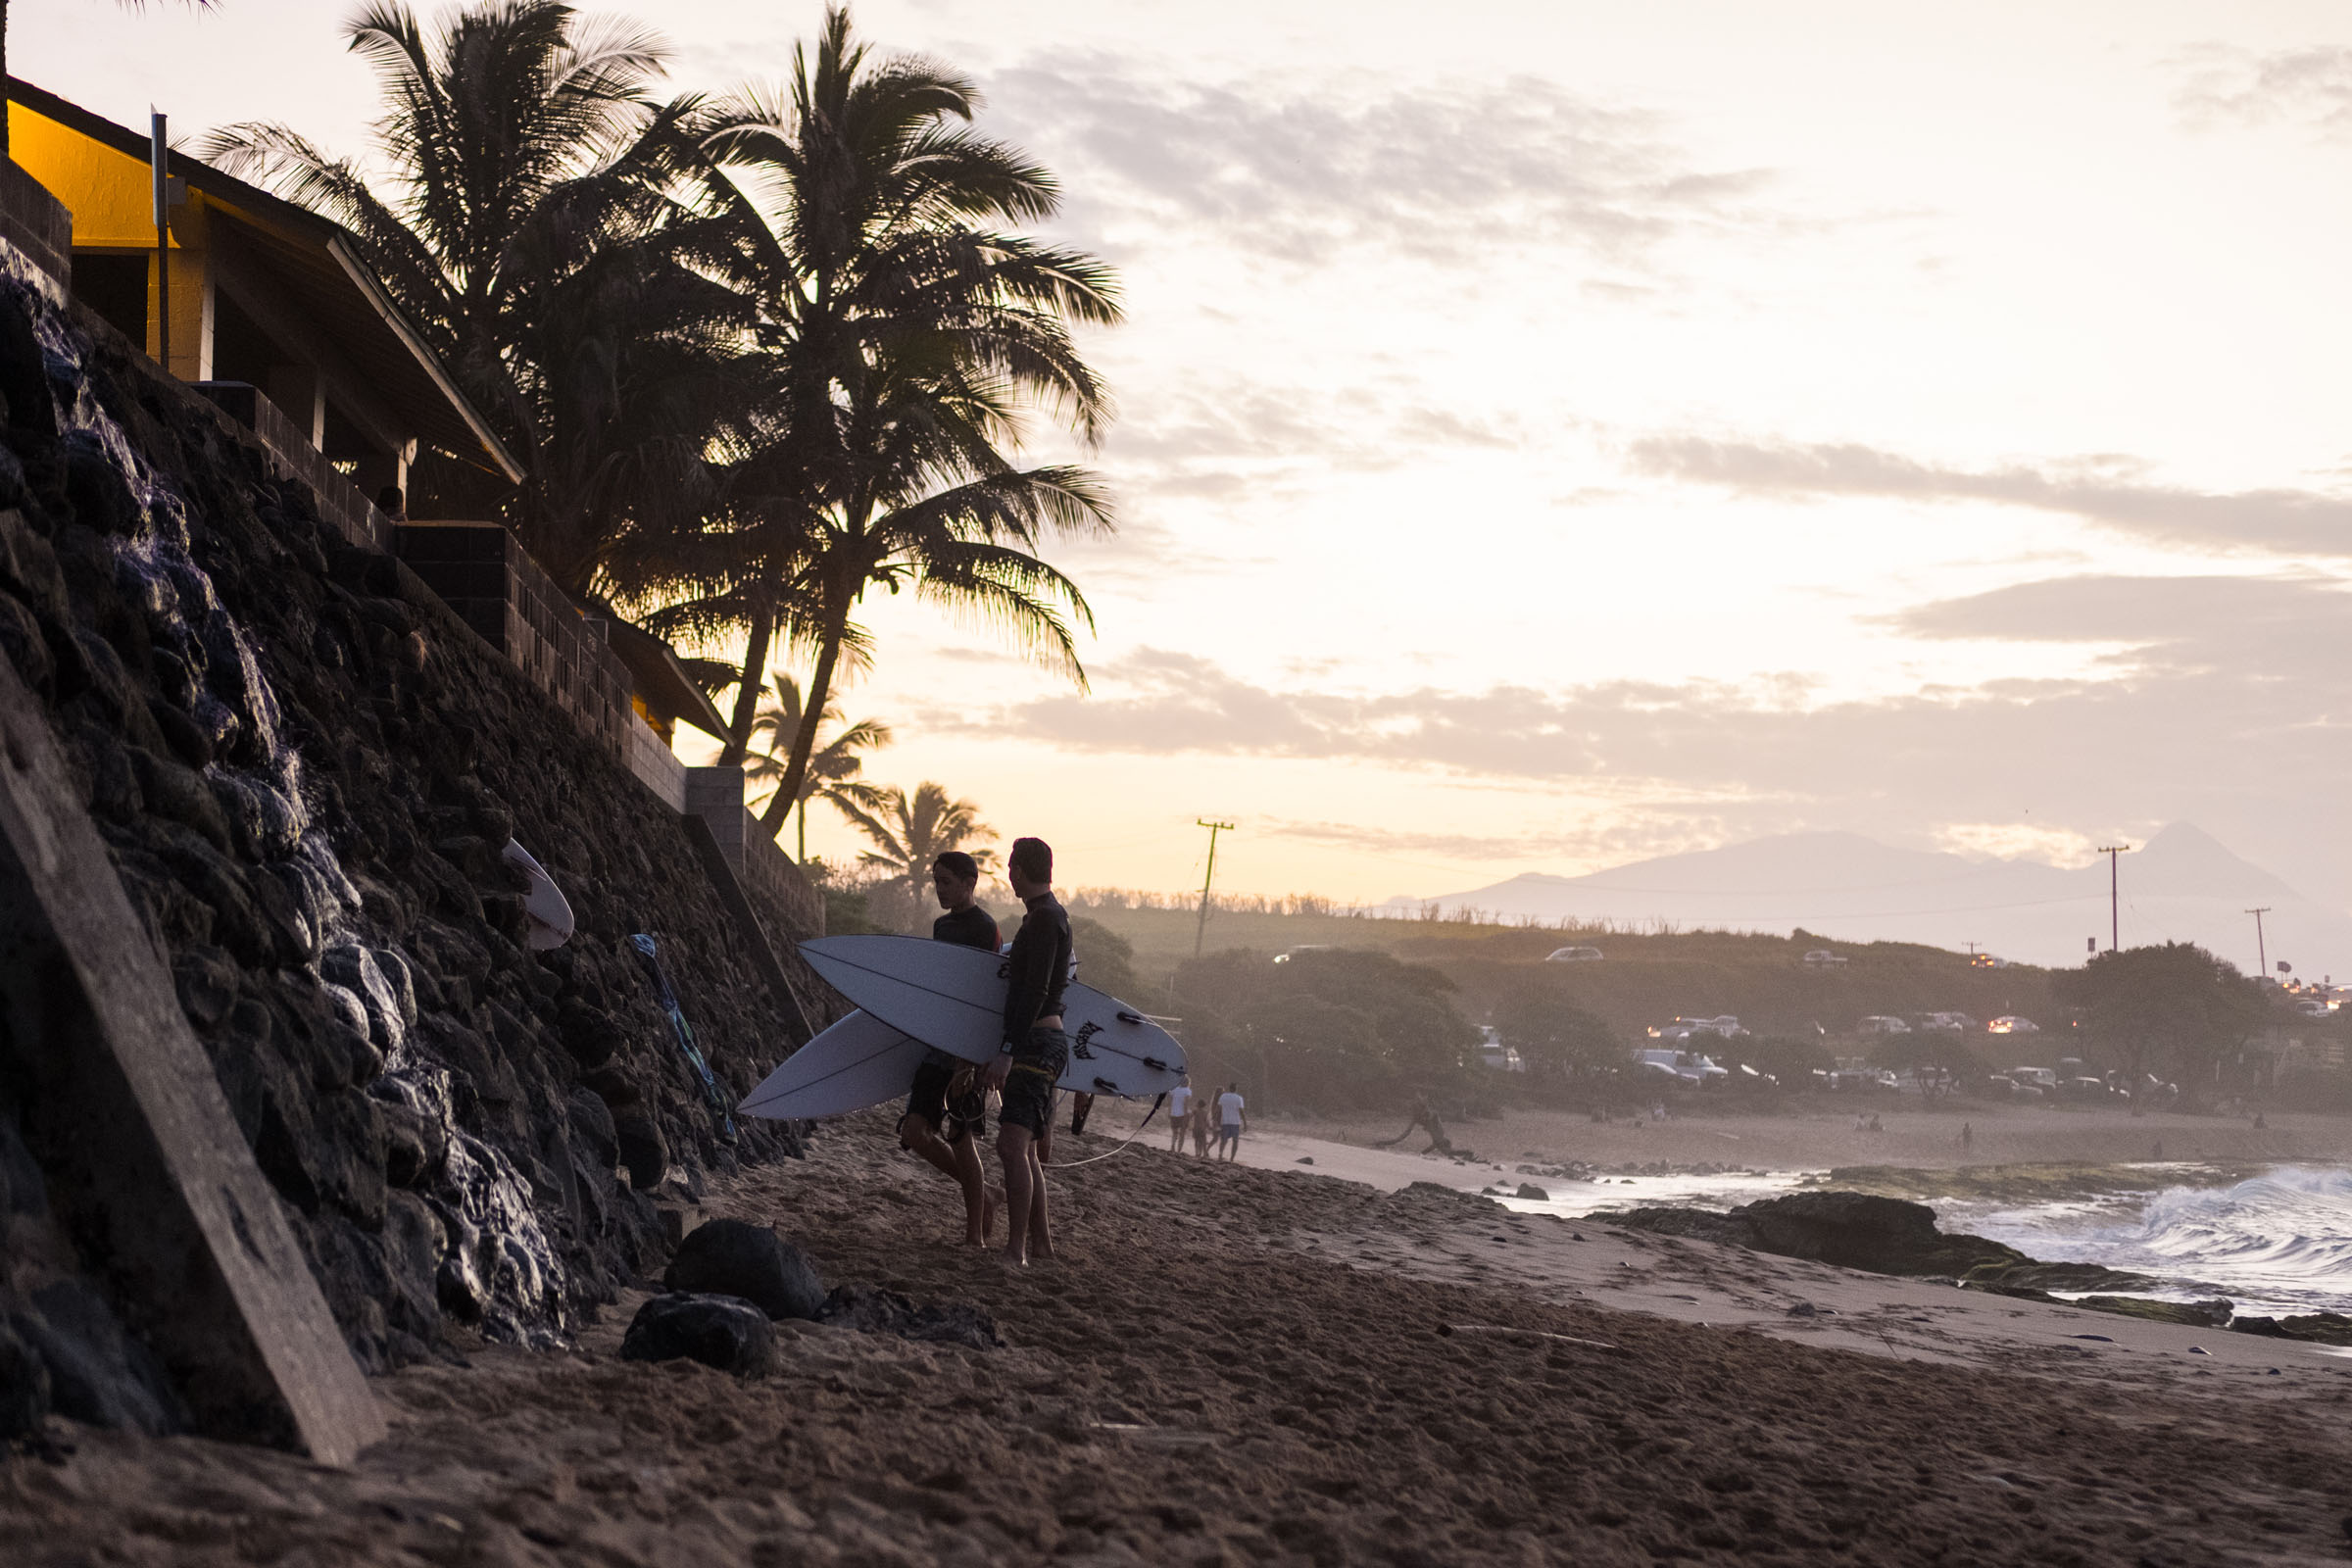
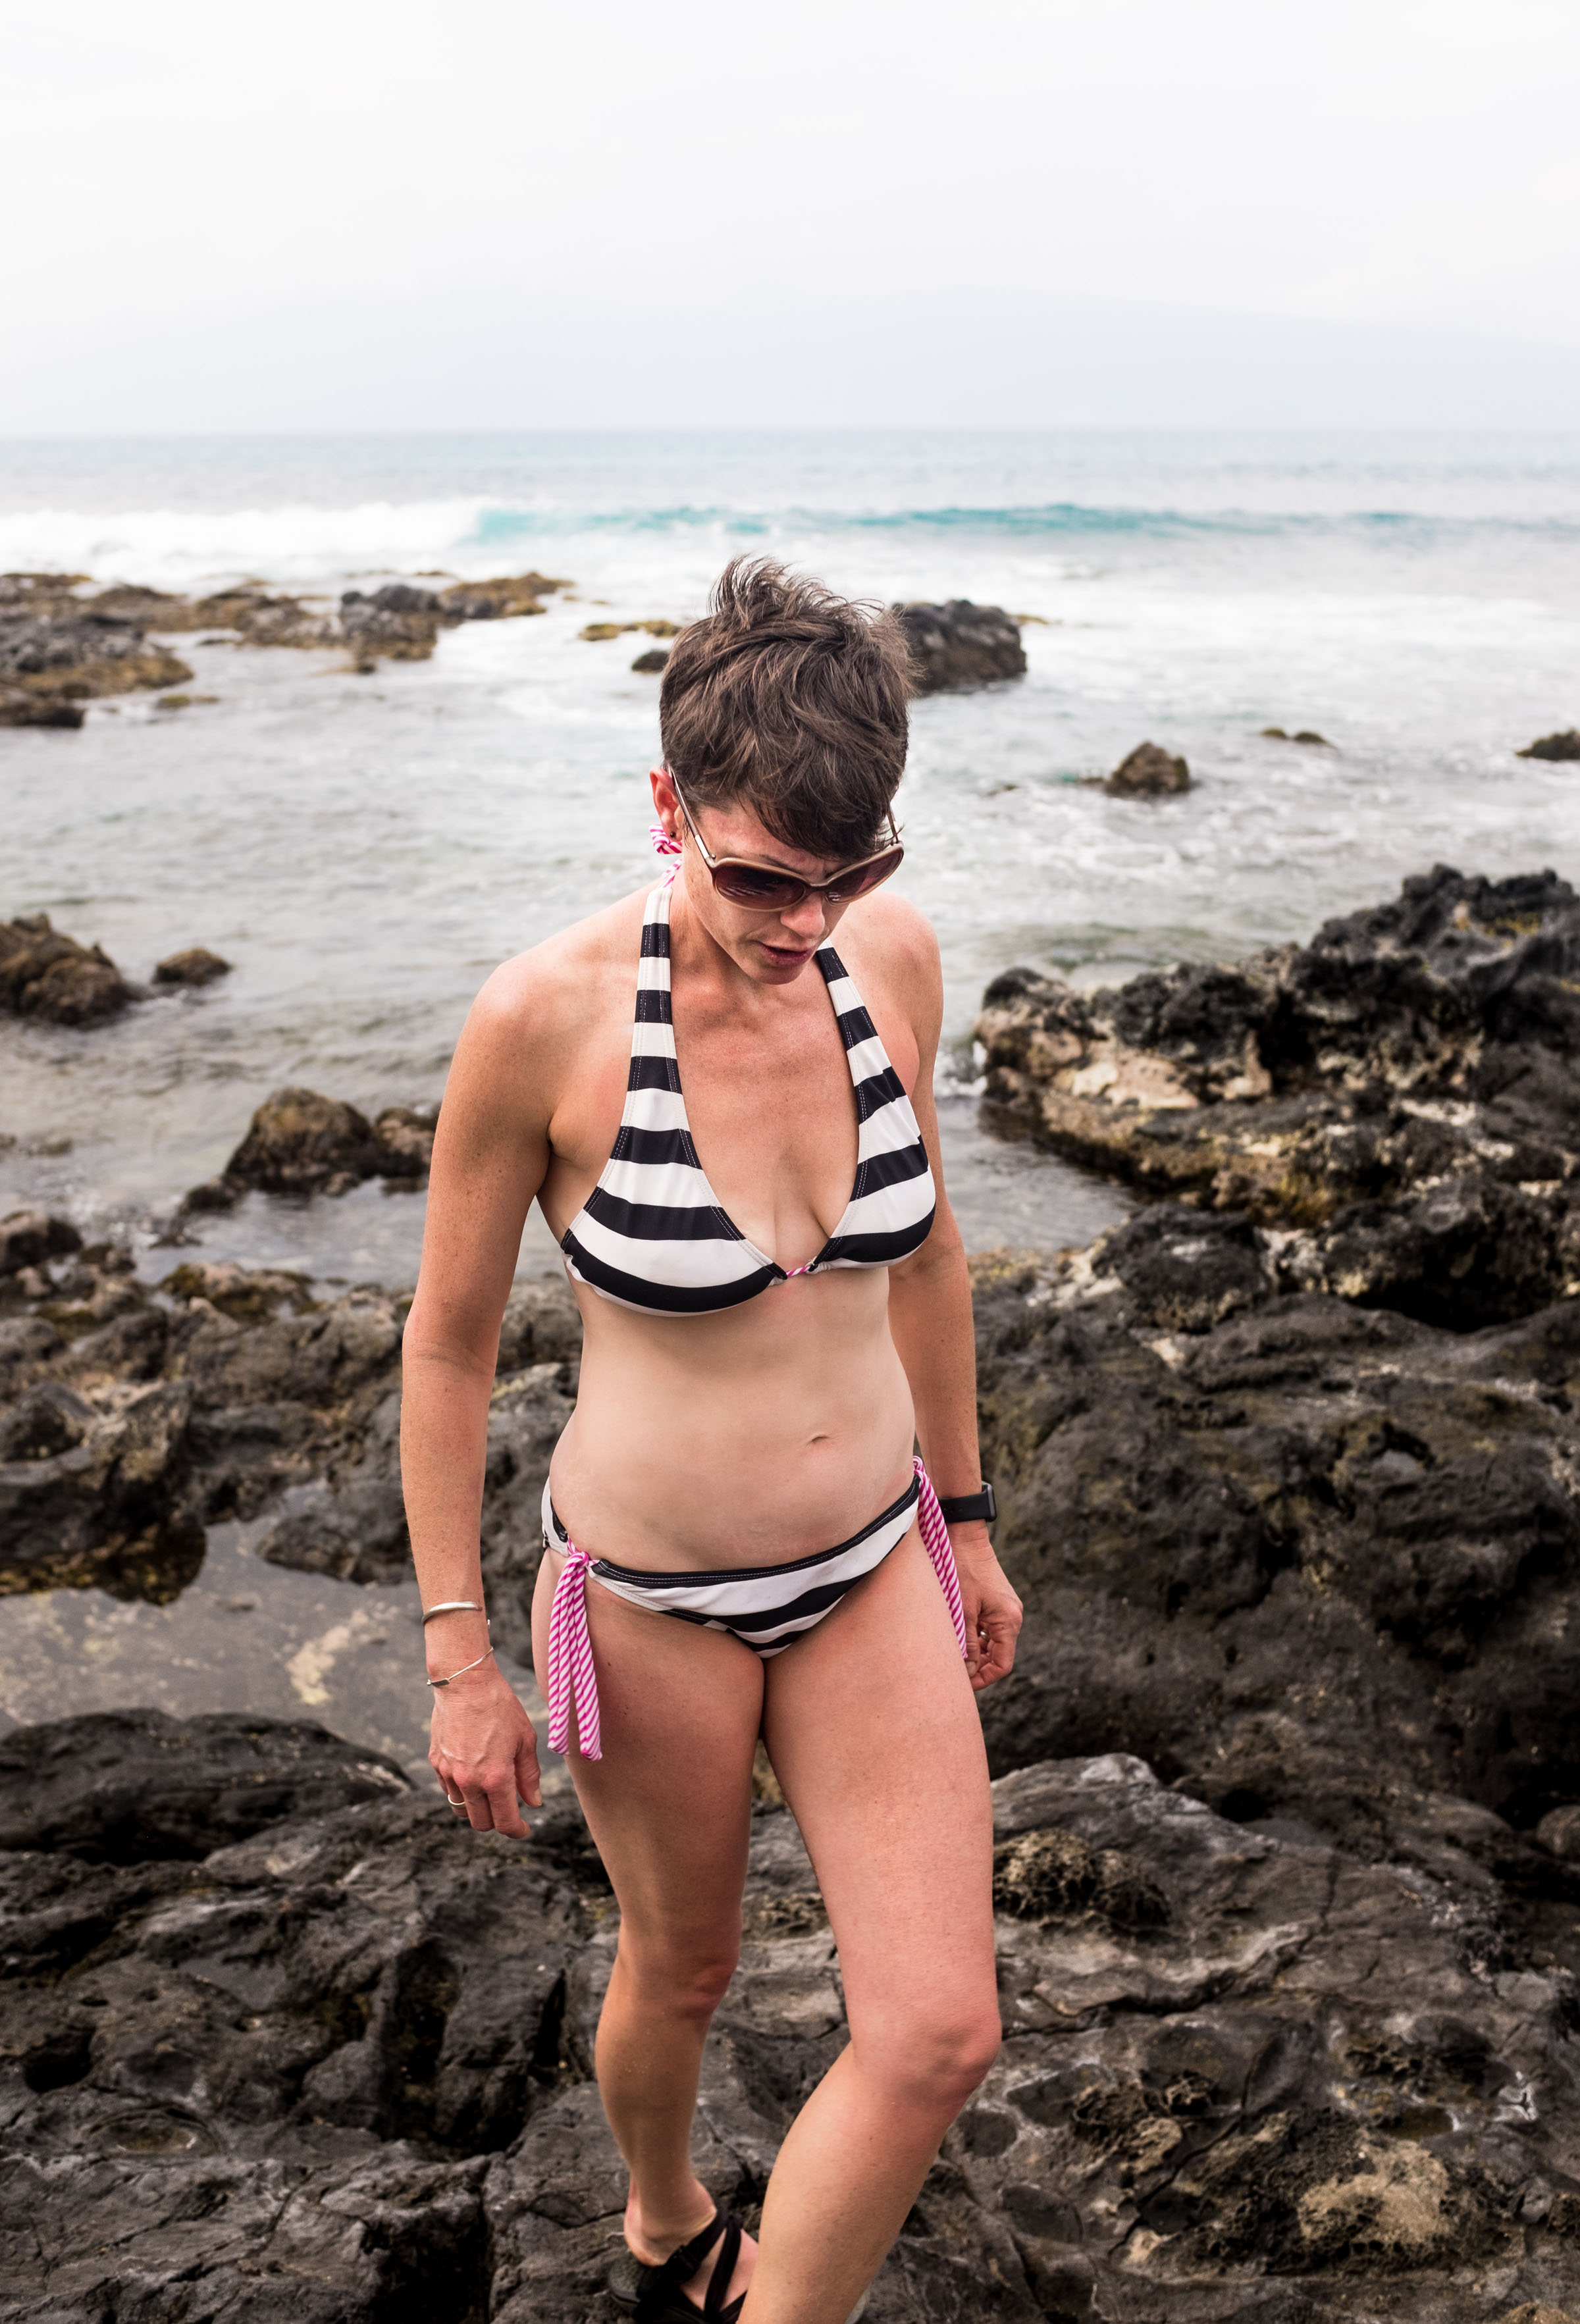
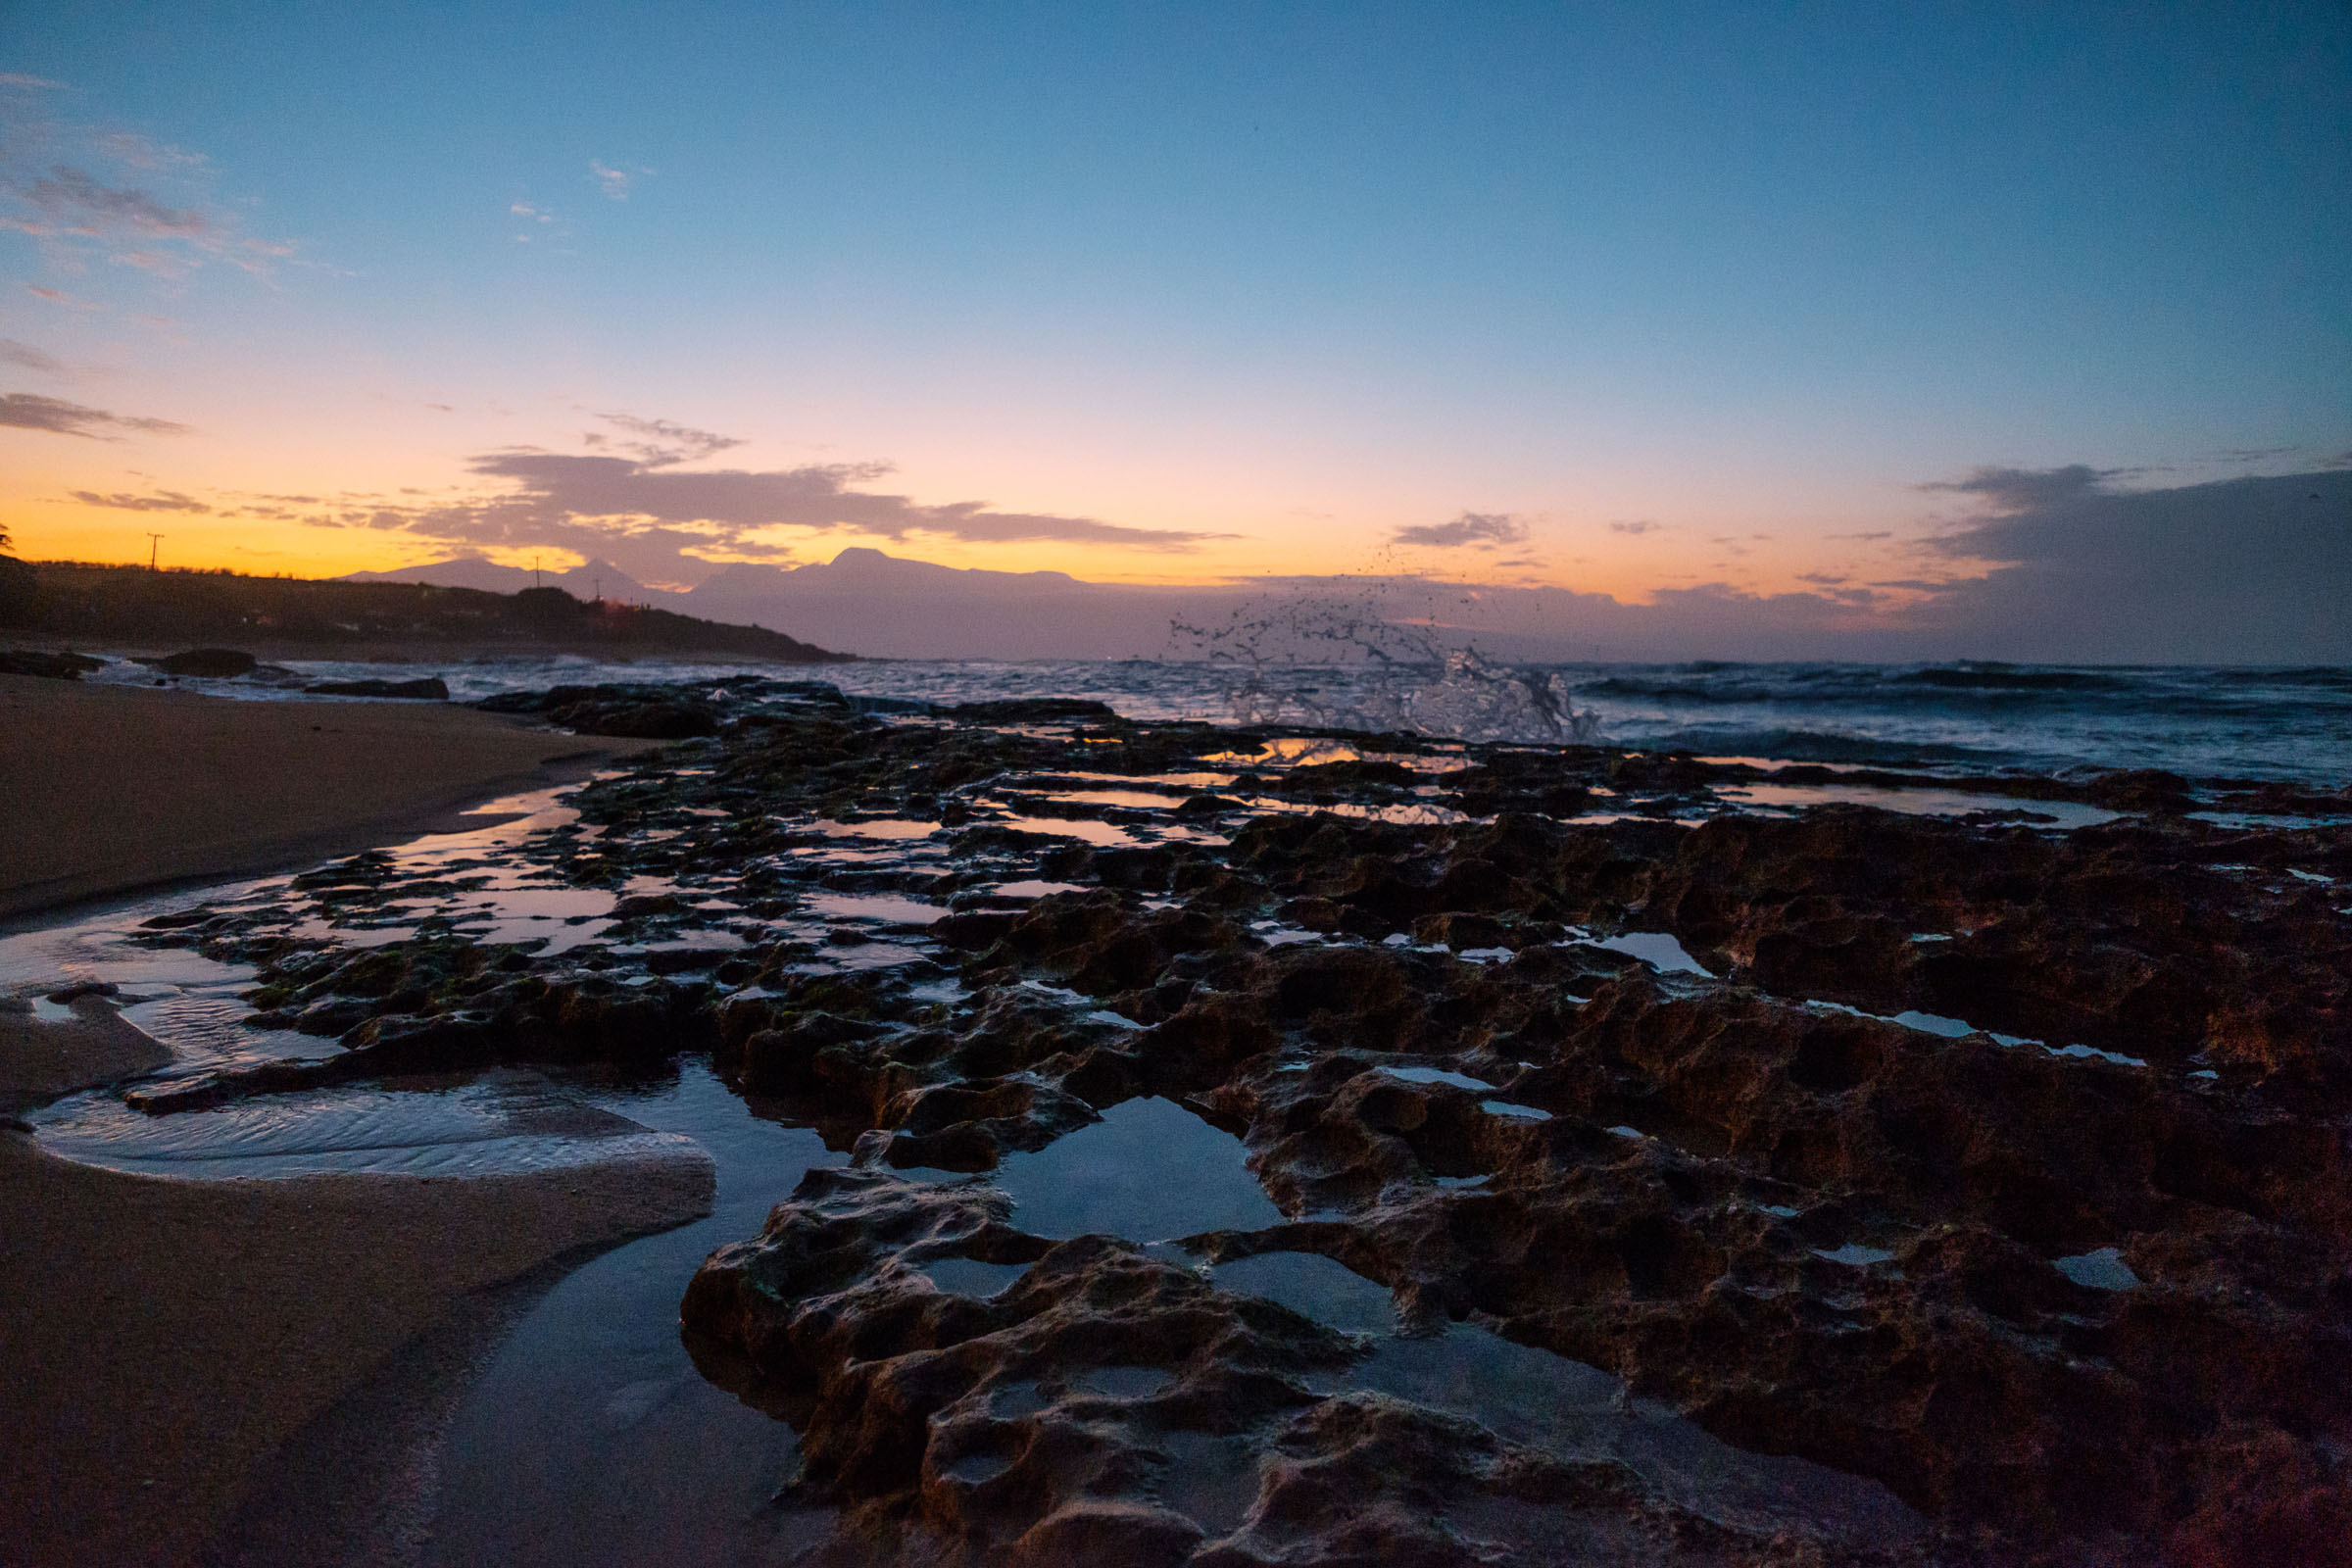
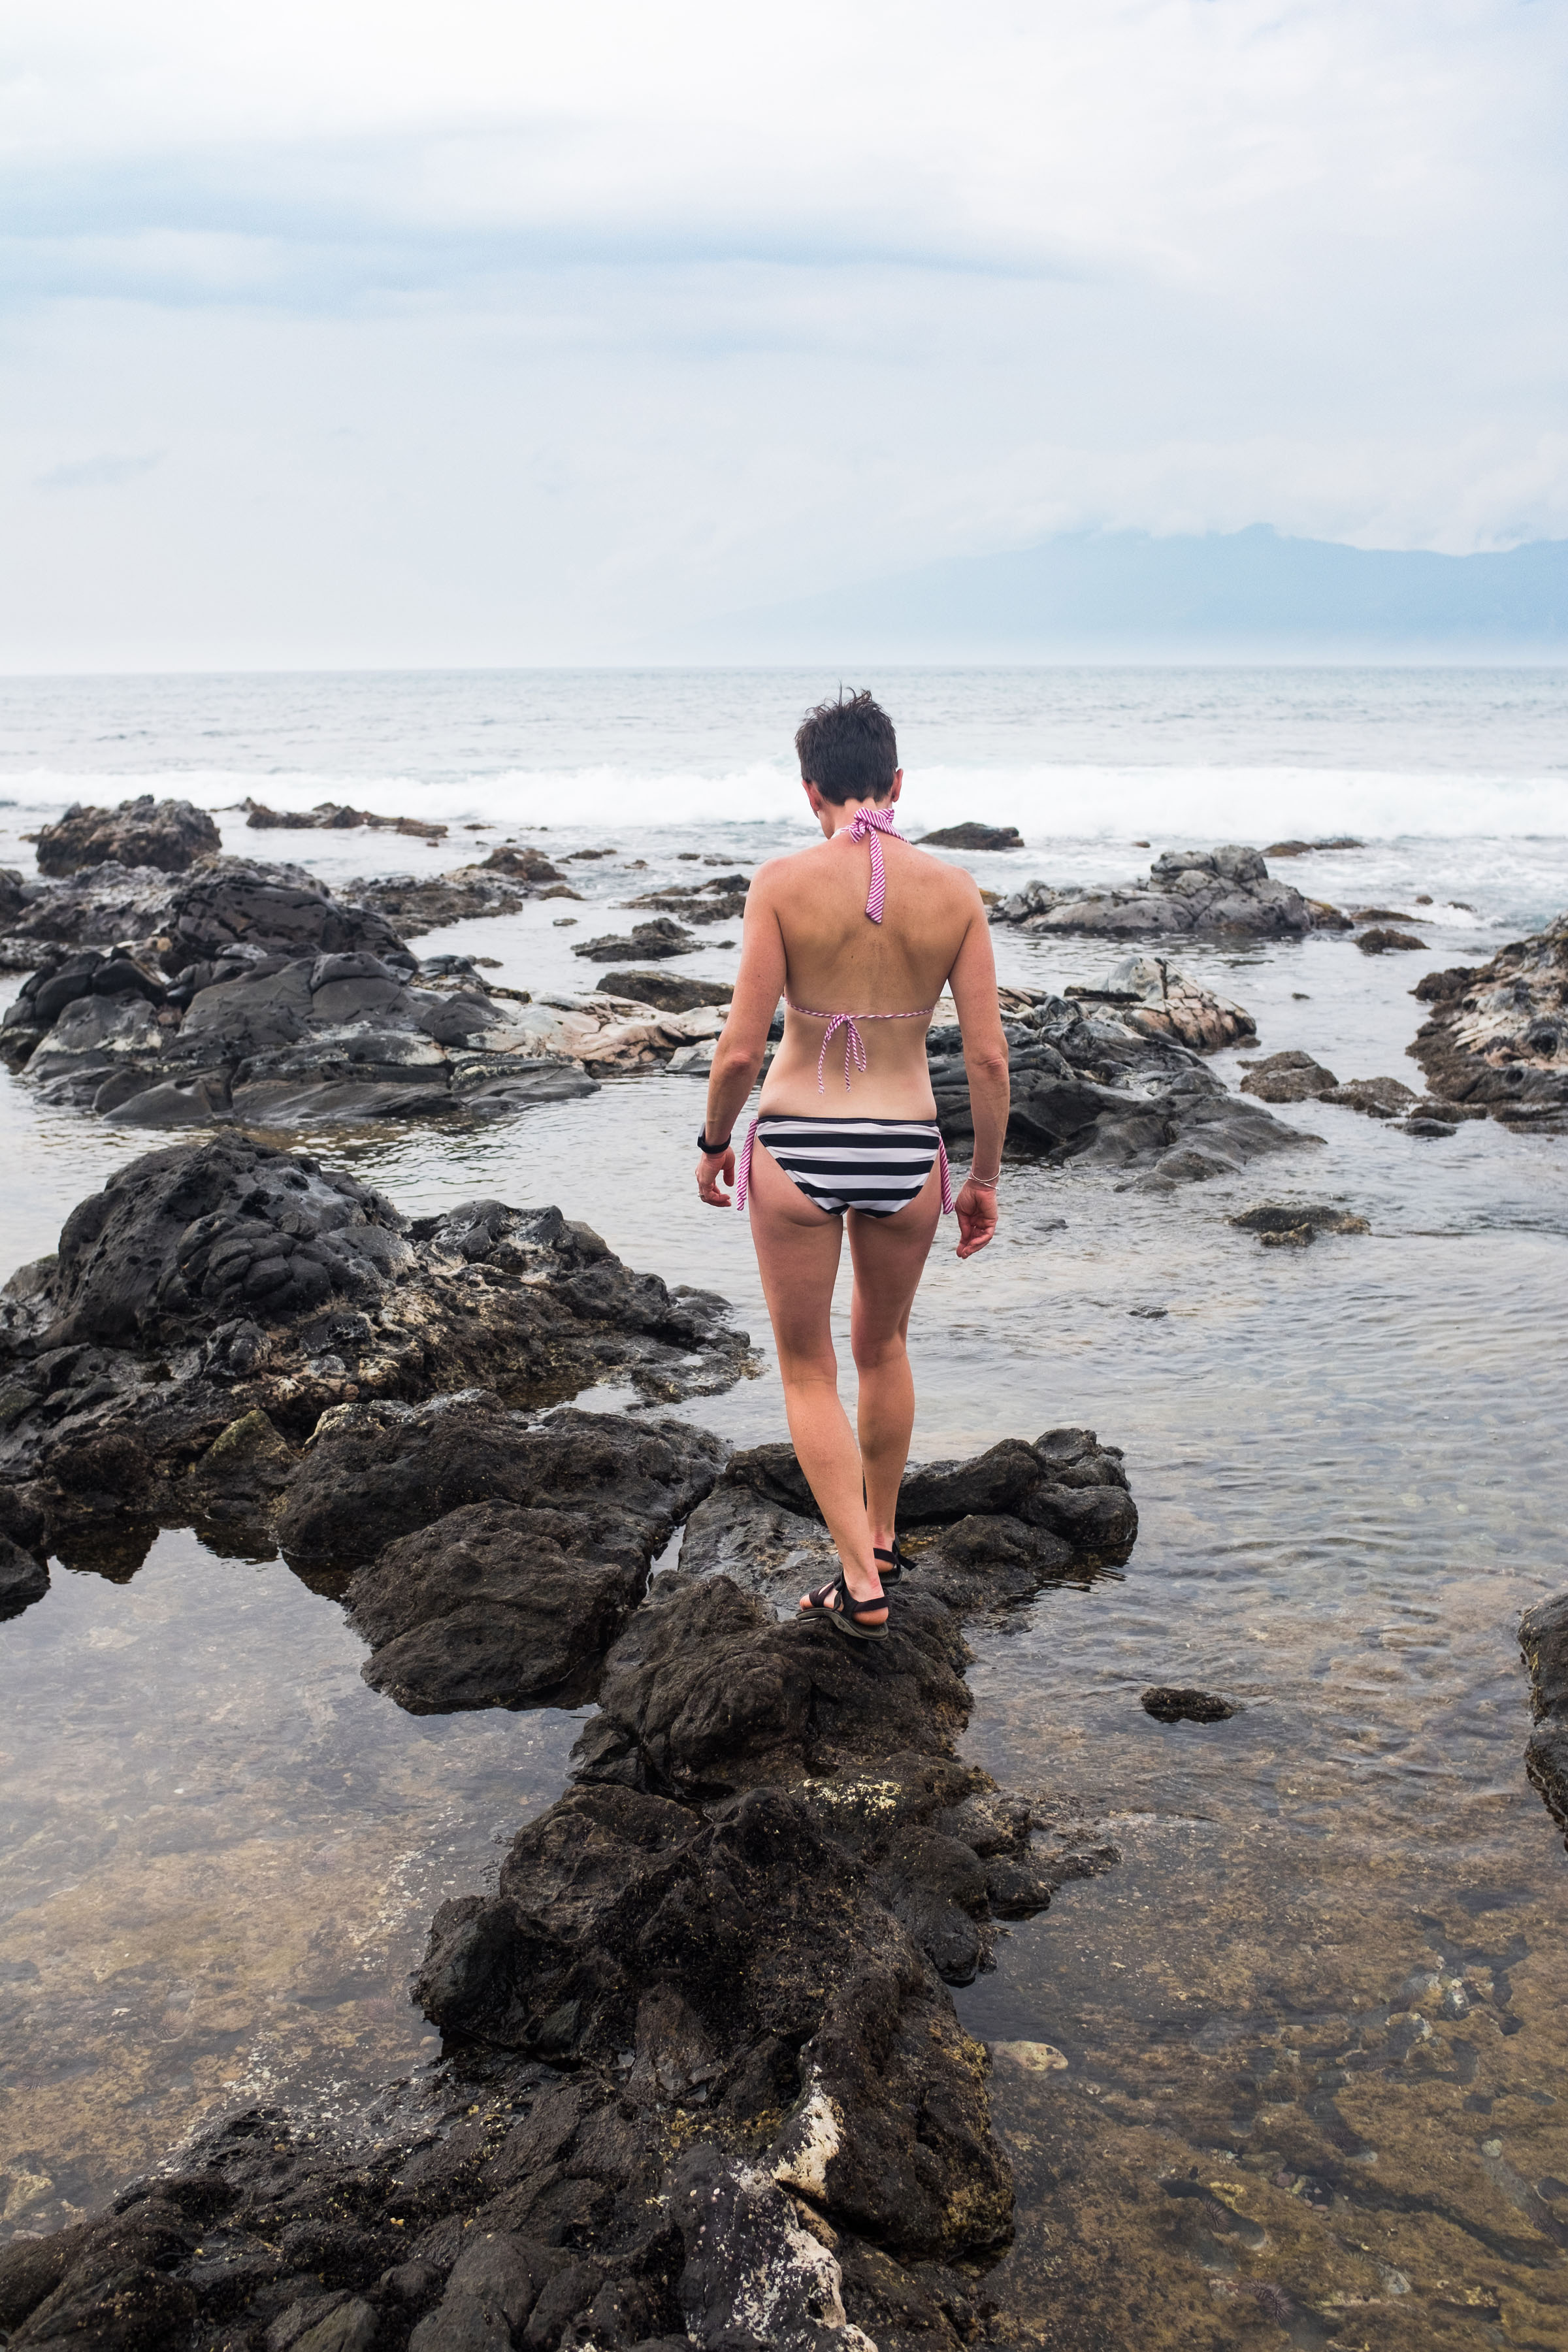
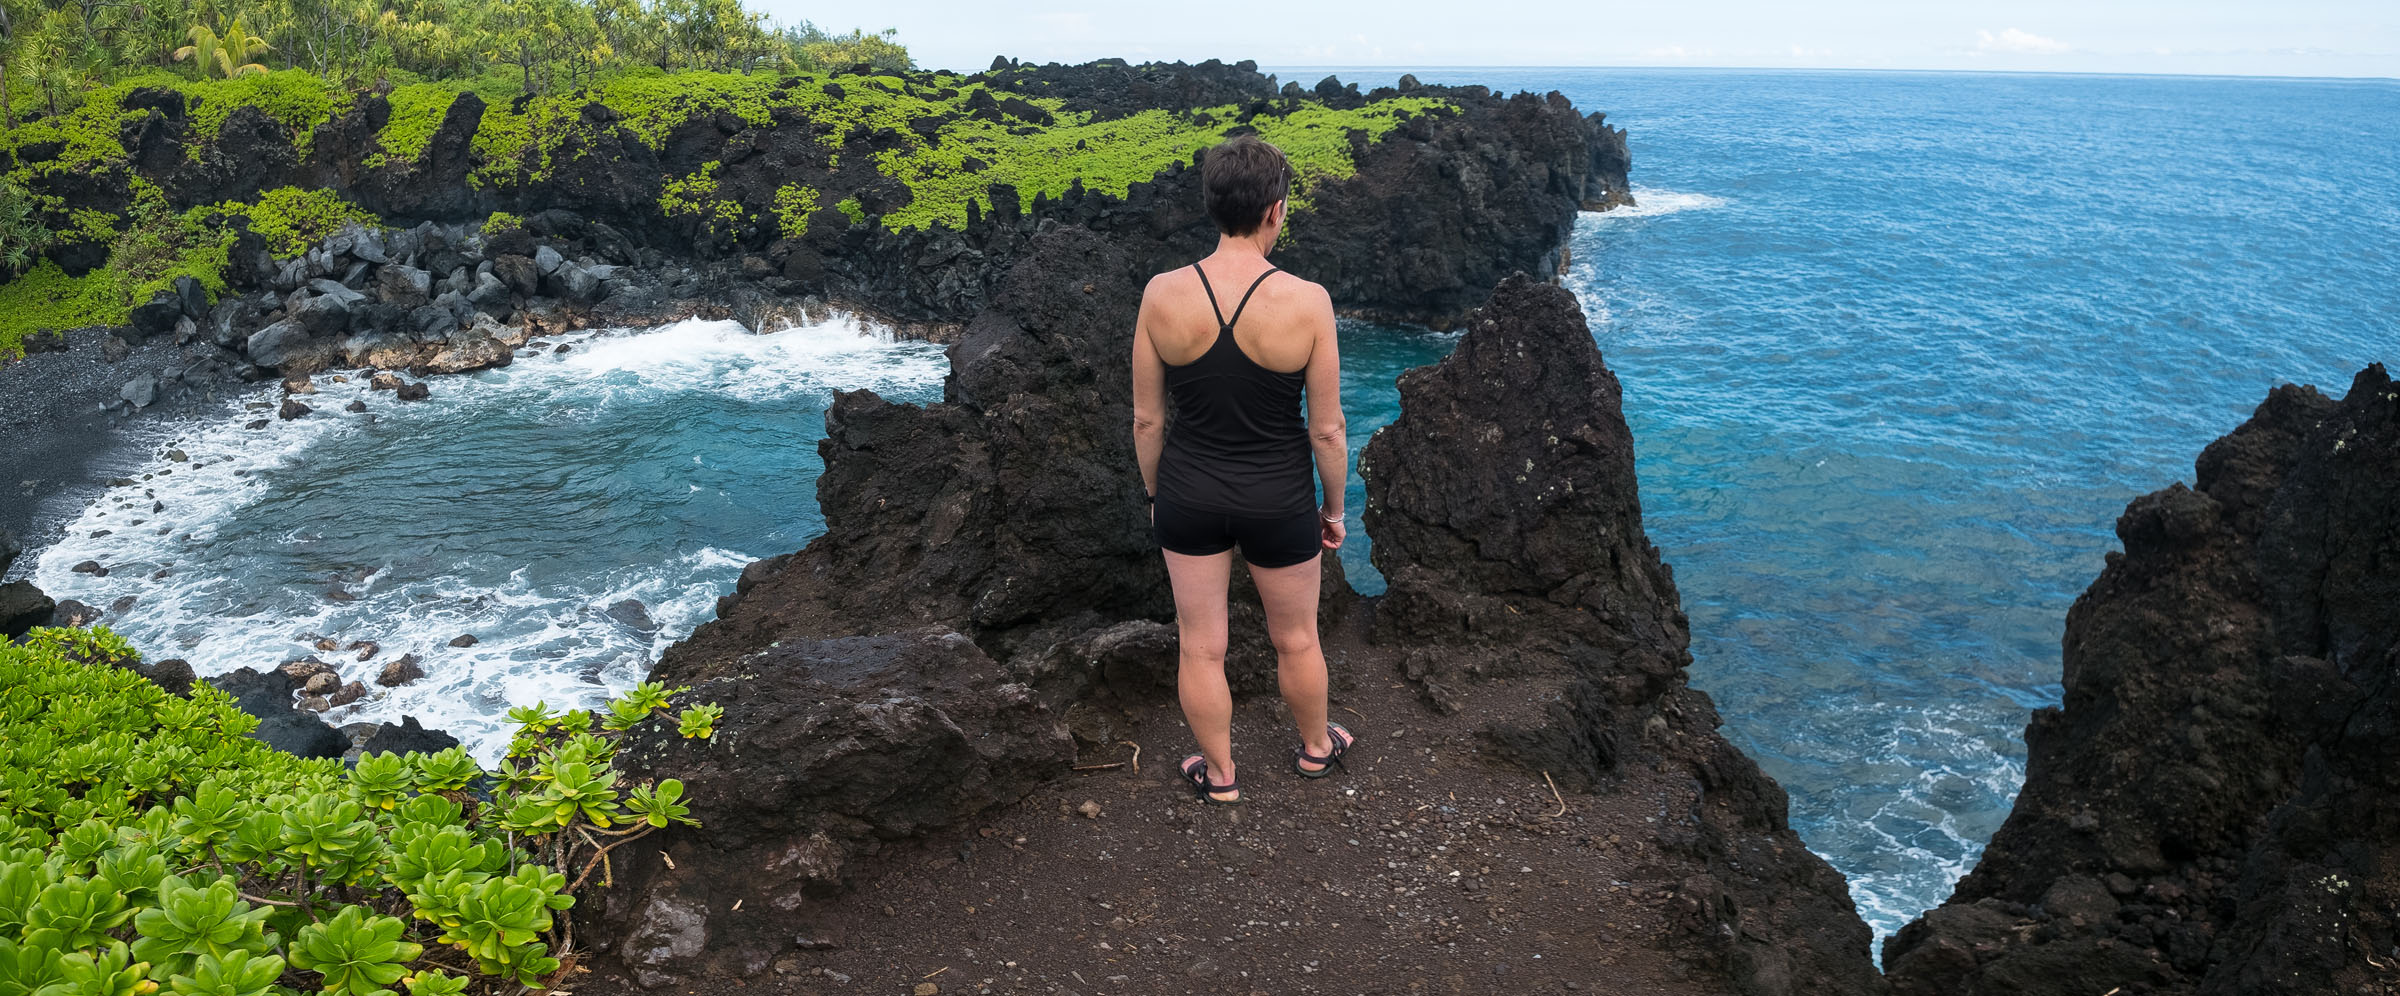
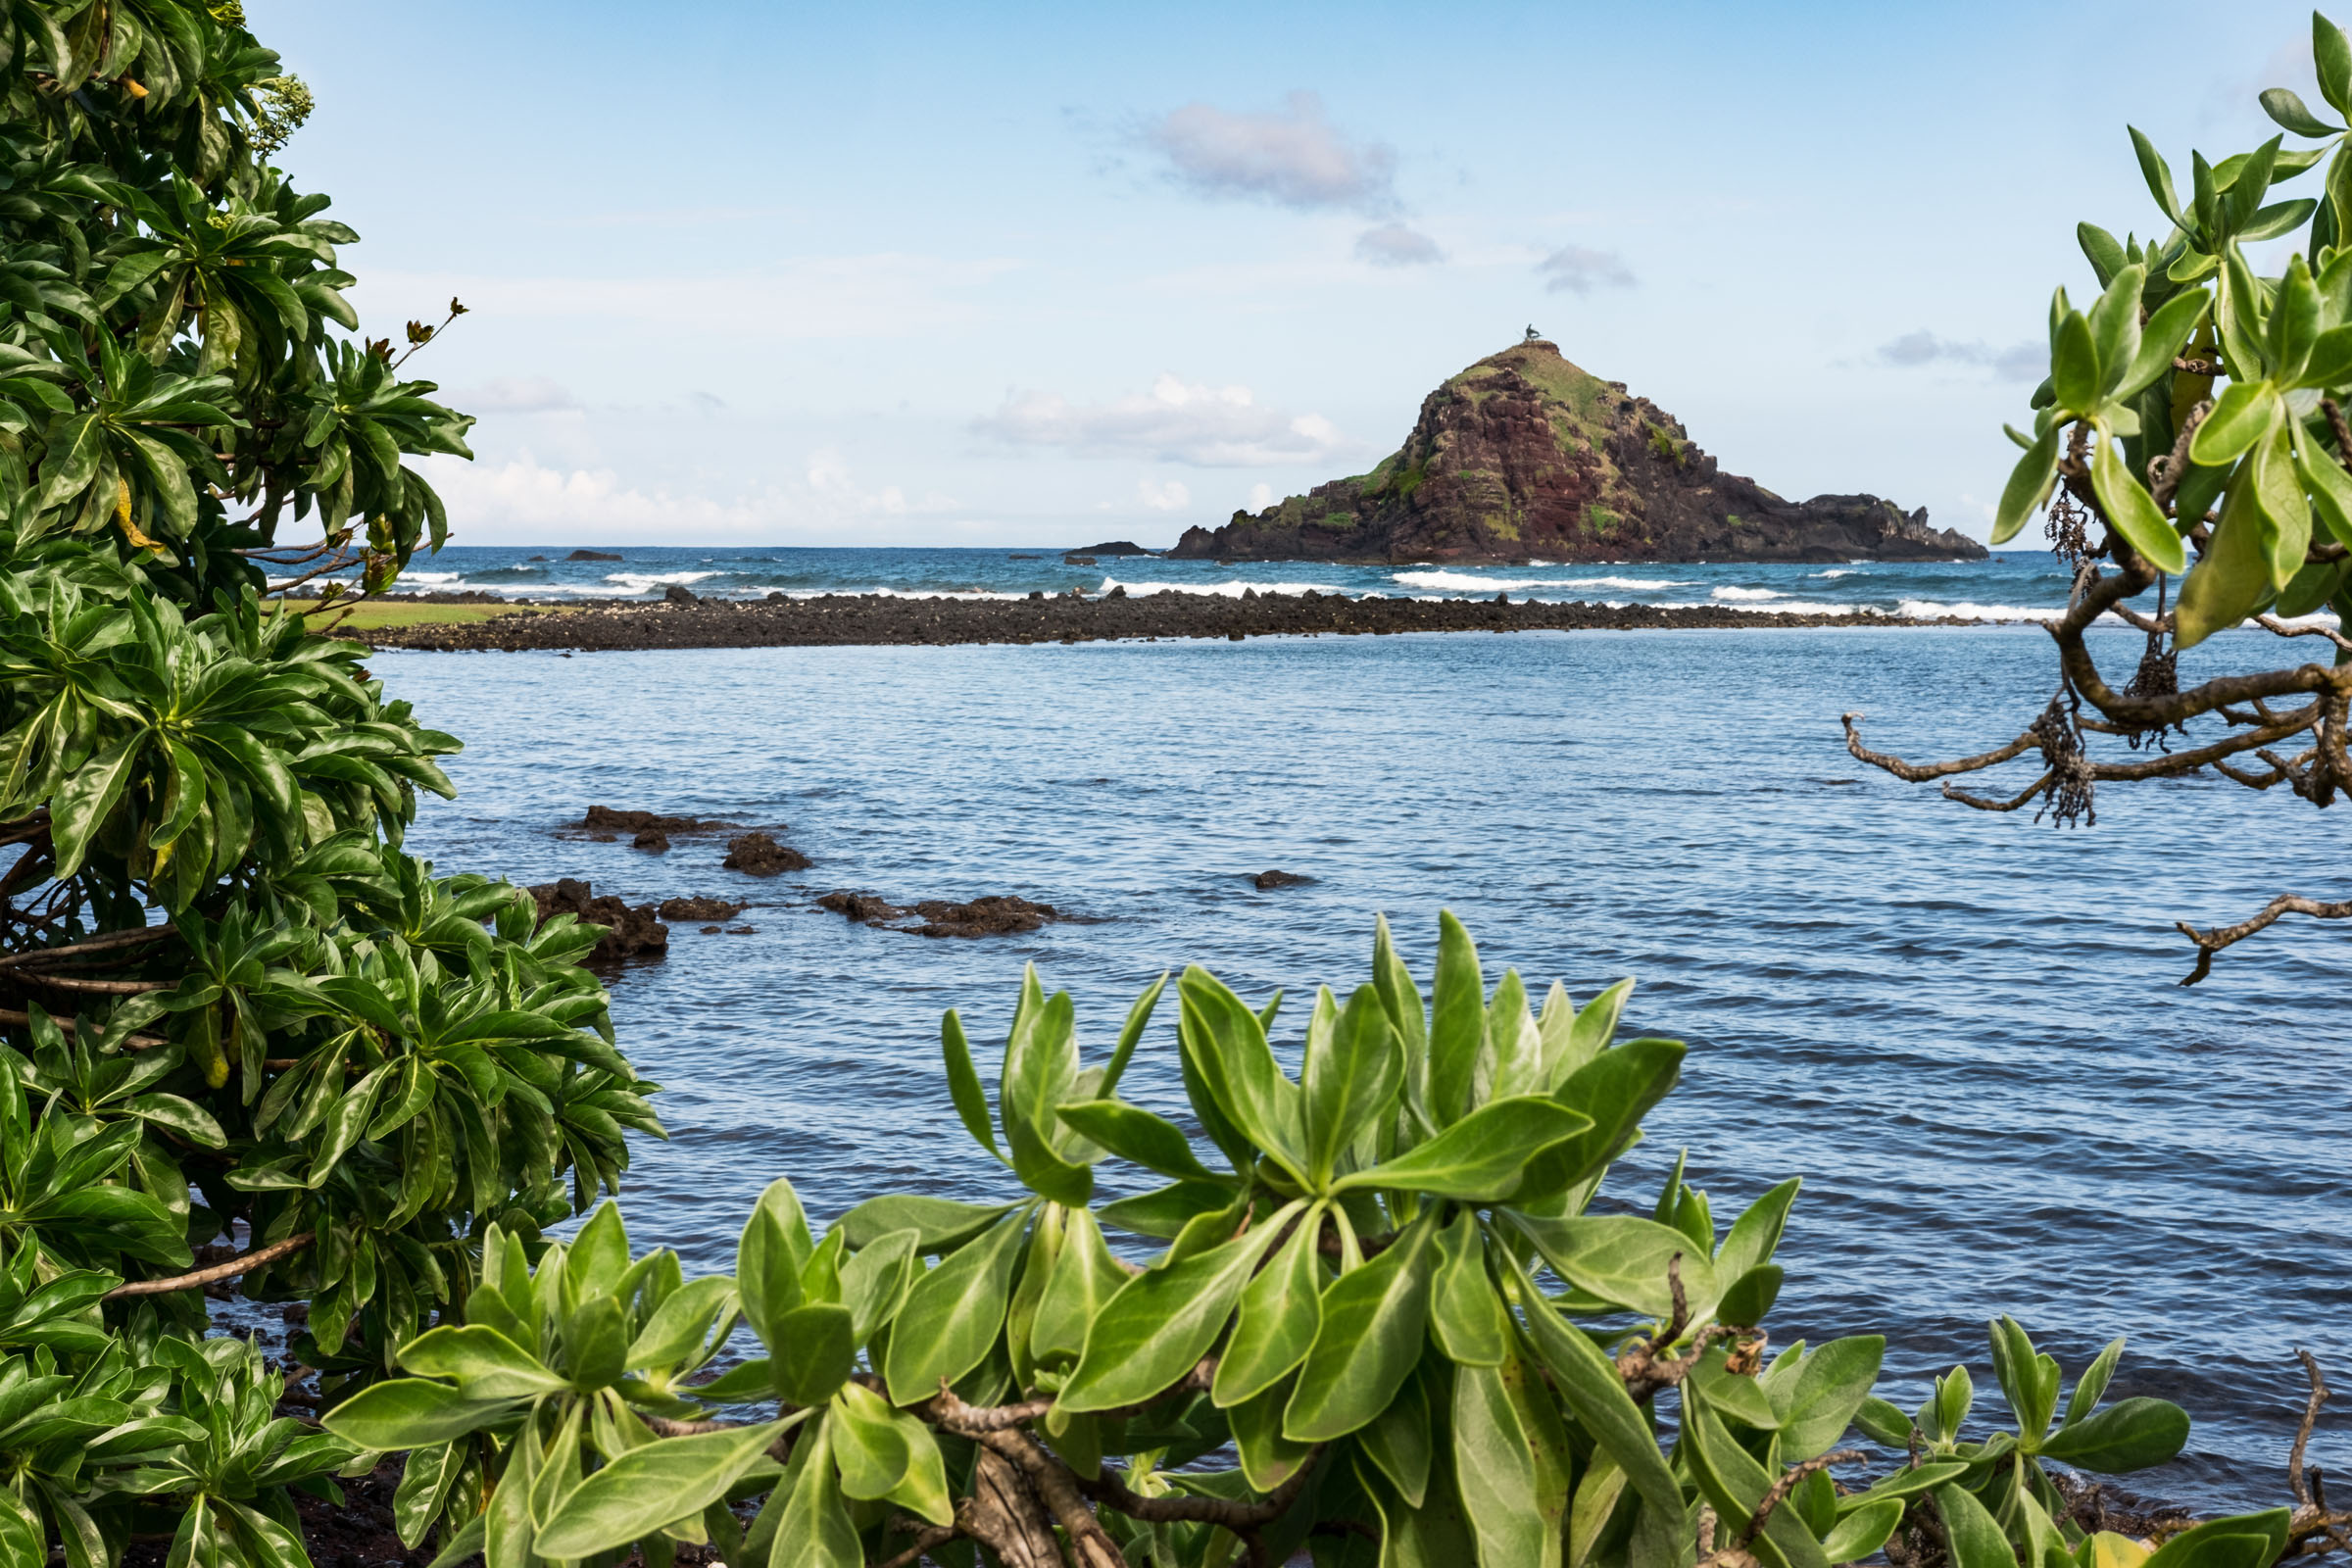
Our favorite part about tropical locations is taking time to relax and enjoy the beach. While much or Maui's coast is lava rock, the island has several beaches worth checking out. There are also some great places to explore tide pools.
We visited Hookipa Beach Park one evening and watched the sea turtles come in for the night. Pretty cool!
The Road to Hana
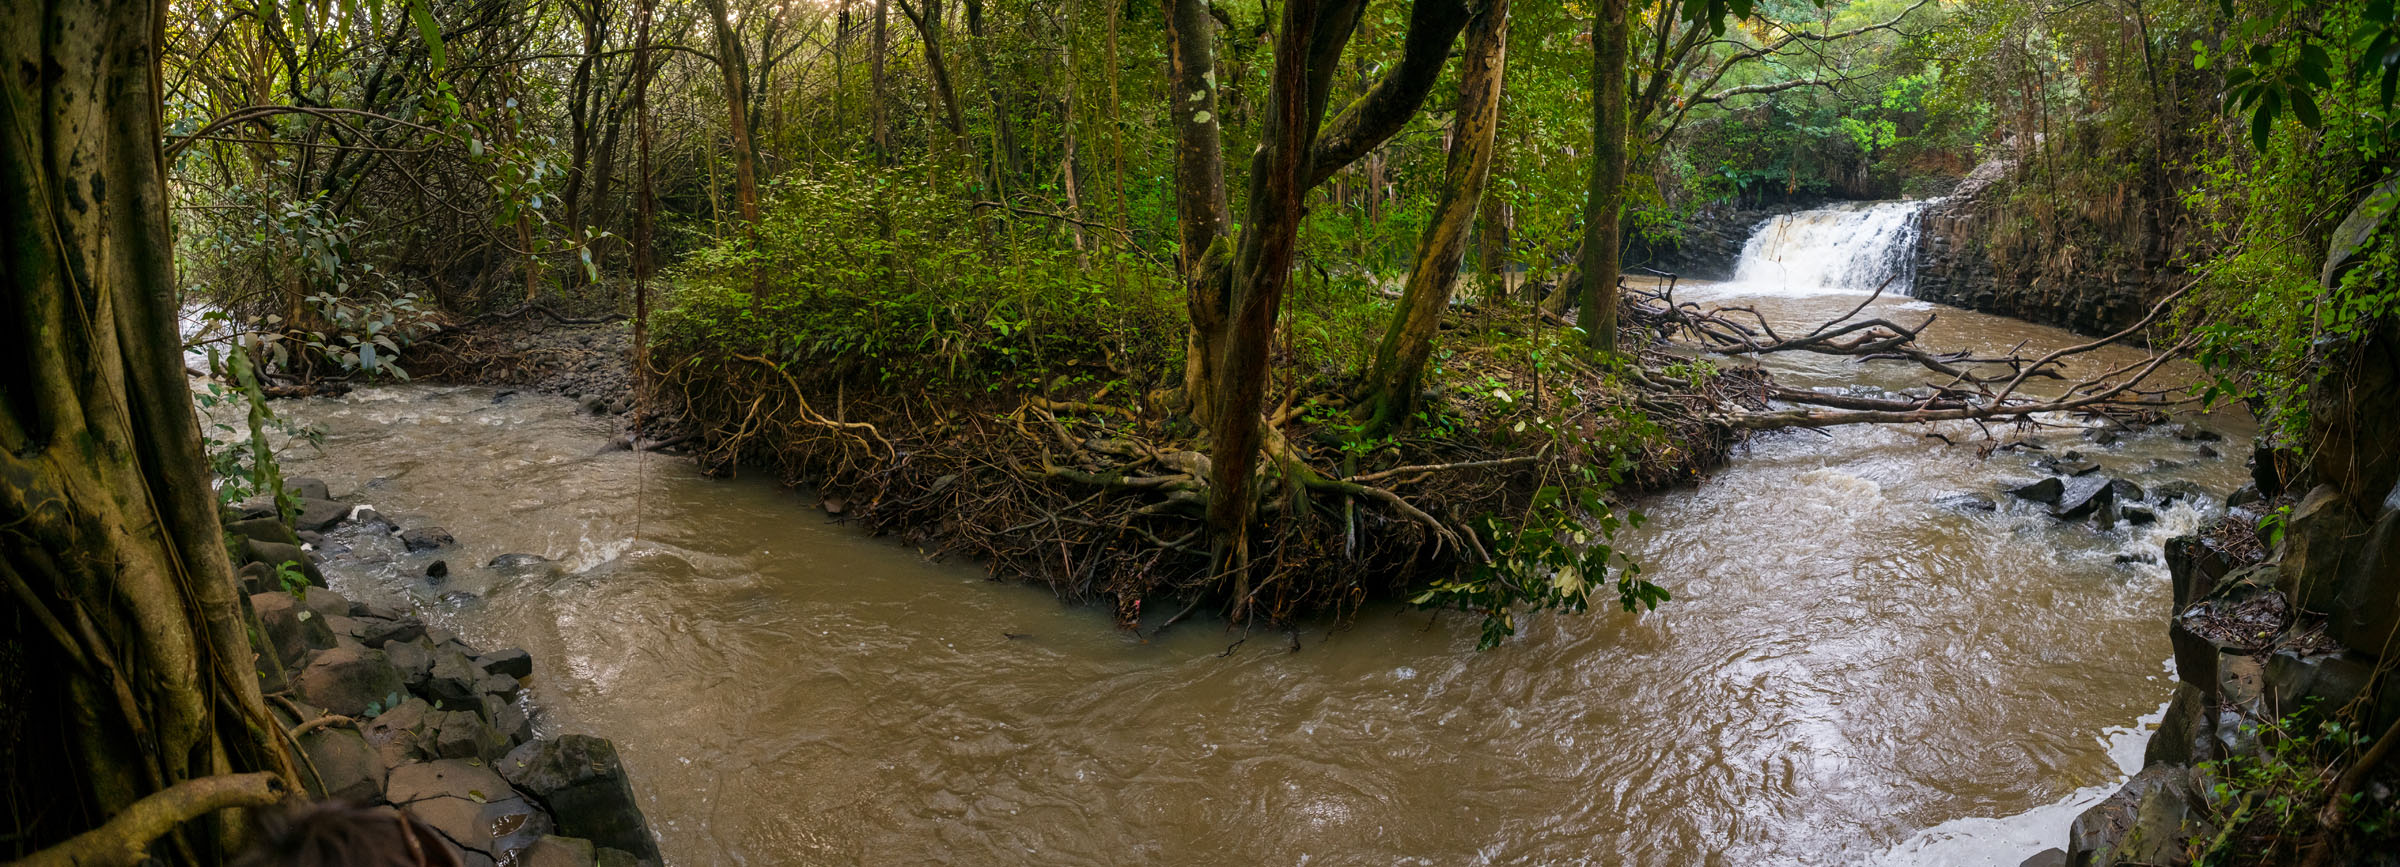
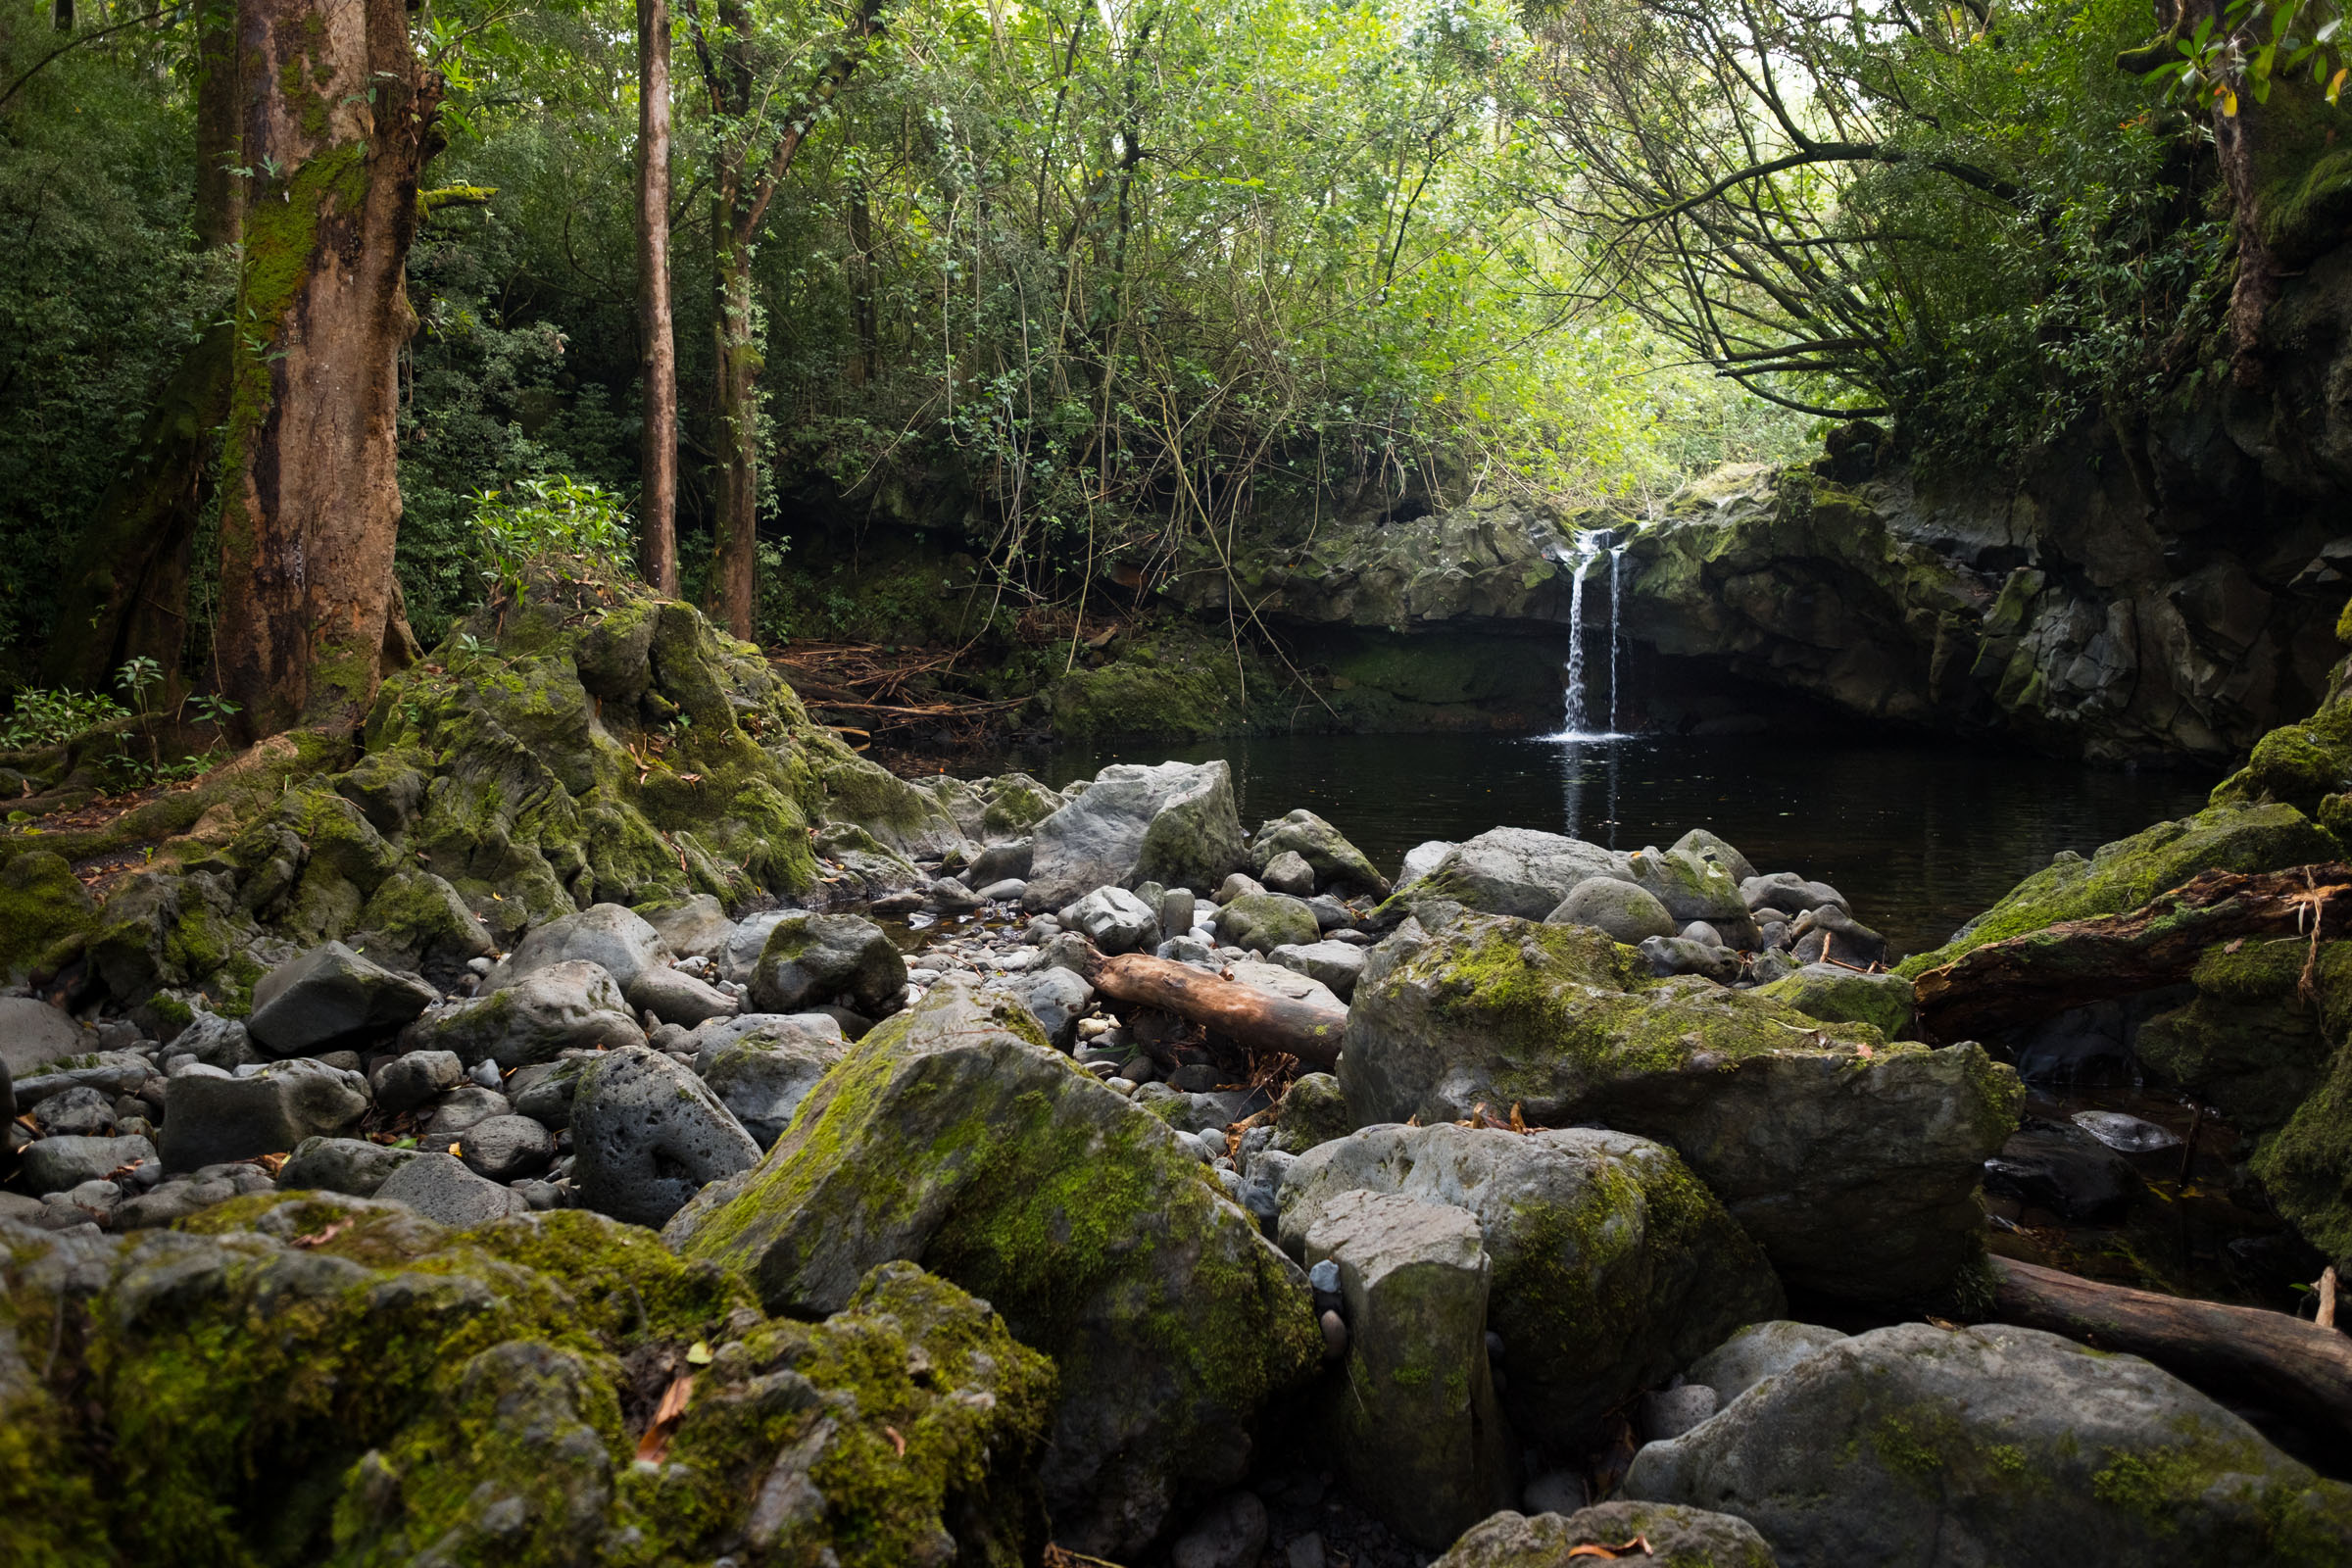
If you do any research on Maui, The Road to Hana will be the most recommended activities. Be prepared to spend a decent amount of time in the car. It is about a 3-hour drive one-way. Add in the hikes and destinations along the way and you’re in for a full day. Most people drive the entire 3-hour drive back at the end of the day. The waterfalls and views along the way are worth the trip. There are some nice spots to stop for lunch and catch some rays at the beach along the way as well.
However, as locals know, there is a “short cut” that takes you on a pretty dicy road that continues along the southwest side of the island. Depending on who you ask, they'll tell you it's either “do-able” or you will “surely roll the car off a cliff and die.” We decided to go for it. I was nervous driving it in our rented Hyndai Sonata but I'm really glad we did! Once you get past the 7-mile “scary” part, you'll see a part of the island that you wouldn’t see otherwise. In some ways it was the best part of the journey. If you're a decent driver and don't mind some adventure, I recommend driving the back road. Be sure to get past the worst part before sunset and you'll be rewarded with a beautiful view.


